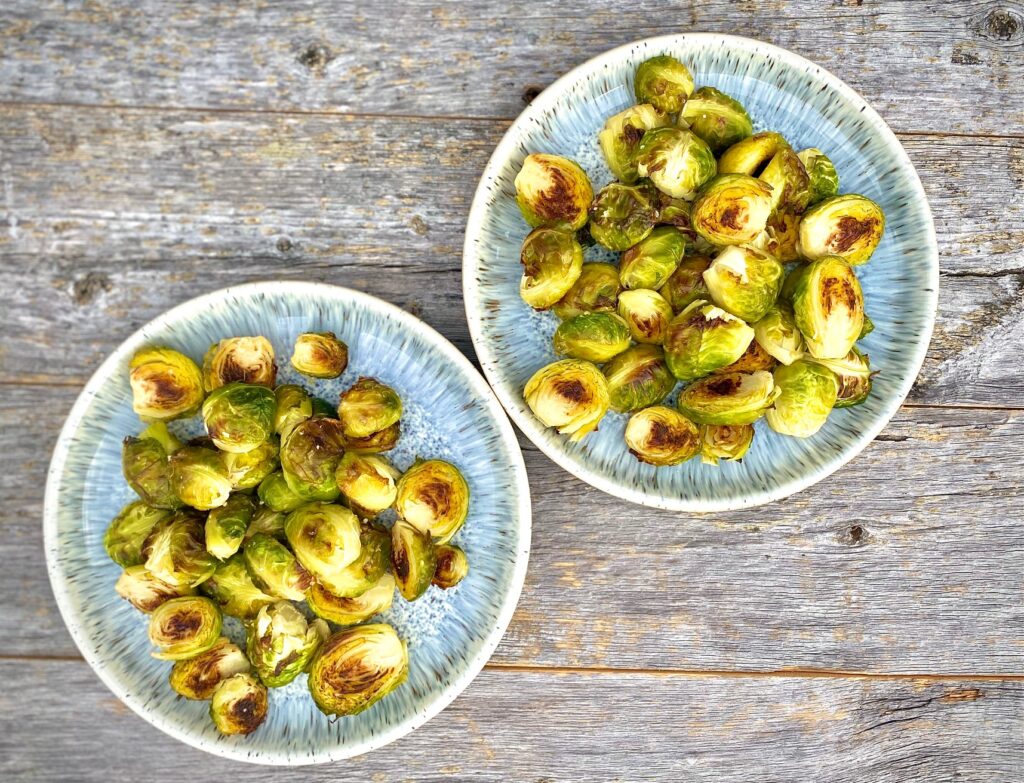
The greatest thing about roasting Brussels sprouts is how easy it is to turn them into the perfect side dish. Just toss with olive oil and sea salt and you are in for a treat.
There are just a few tips and tricks to choosing the best ones and achieving the perfect caramelization on your Brussel Sprouts. Roasting gives them a nutty, earthy flavor that is impossible to resist!
When is Brussels Sprout season?
In the U.S. we are lucky to find them year-round in the market but their true season is during cooler weather. The very best fresh Brussel sprouts are available September through mid-February. They become sweeter and more flavorful after they’ve been touched by mild frost. Often, during peak season, you can find them sold still on their stalks at farmers markets.
Choosing the best Brussels Sprouts:
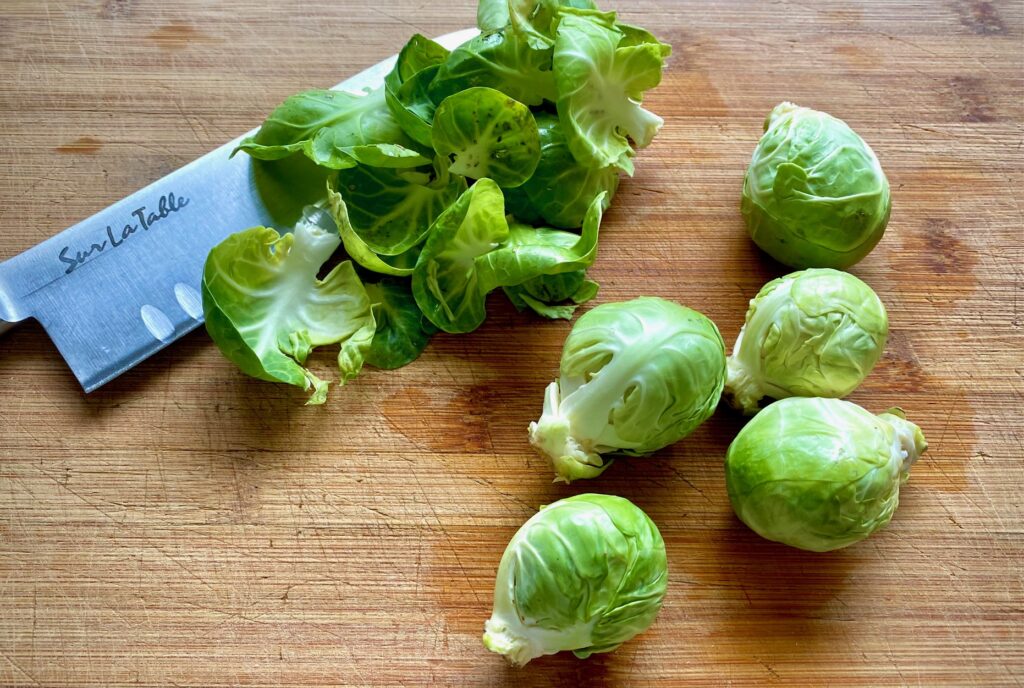
When shopping be sure to look for sprouts that are firm and have bright green leaves that are still soft yet tightly closed. The outer protective leaves will generally need to be removed but they should still look healthy and green.
Unlike most other vegetables fresh Brussels sprouts will keep well in the refrigerator for about 10 days. They are members of the cabbage family and tend to be heartier than more delicate vegetables.
Choose sprouts that are generally about the same size to ensure even roasting in the oven. I like to choose medium sized sprouts for best results. The very small sprouts are sweeter but the medium sized sprouts handle the heat better overall and seem to roast more evenly.
How to prep fresh Brussels Sprouts
- Begin by peeling off any of the protective leaves that are not pristine
- Wash the peeled sprouts to remove any sand or dirt and pat dry
- Trim the small root end but leave enough to hold the brussels sprouts together
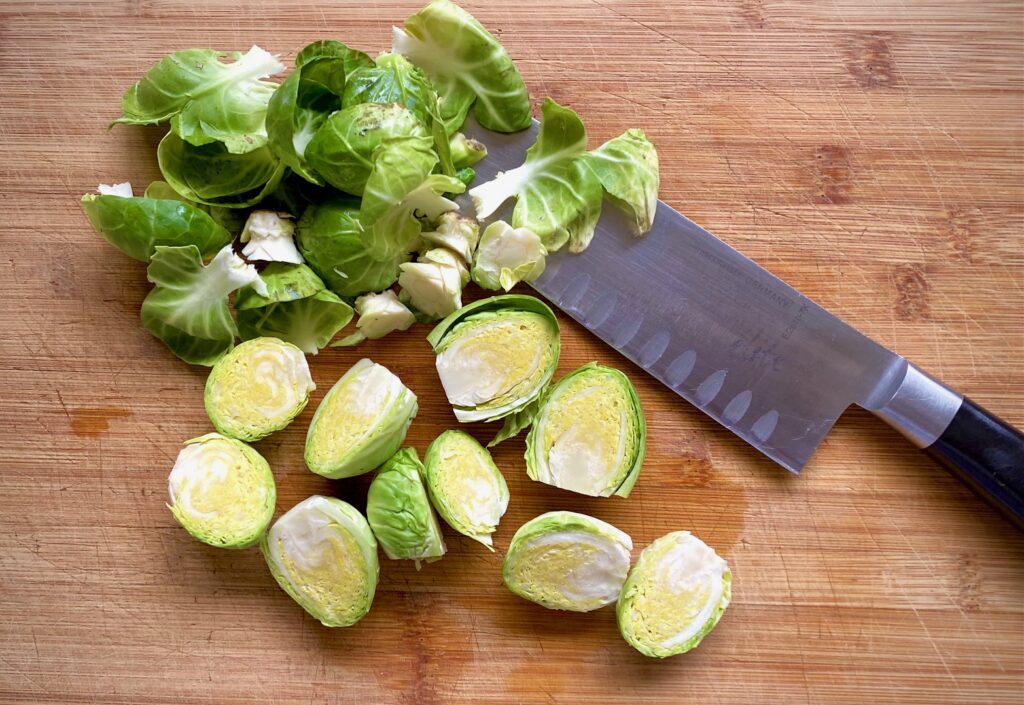
- Slice in half from flat stem end through the top. It’s important to split them in half this way in order to create a flat surface that will bake face down on the pan. This will become the caramelized surface and also helps trap the steam inside the sprouts during cooking to ensure the inside is soft and tender.
Just 3 ingredients needed:
- Fresh Brussels Sprouts
- Olive Oil
- Fine Sea Salt
How to make roasted Brussels sprouts:
- Preheat the oven to 425˚F and set the rack to the middle position in the oven
- Line a large baking sheet with parchment paper (this is optional but makes clean up a breeze!)
- Prep and dry the sprouts – see above paragraph for details
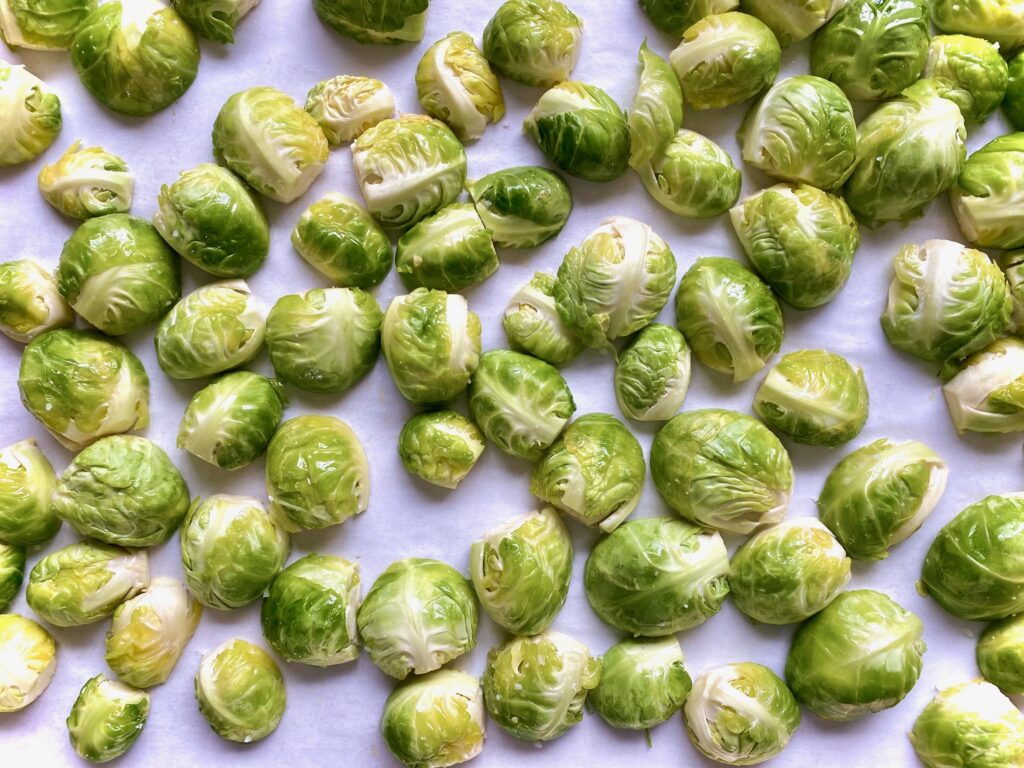
- Add the Brussels sprouts to the baking sheet, drizzle with the olive oil and sprinkle with the fine sea salt. You can add more salt if you like your sprouts a little more tangy
- Gently toss the sprouts to make sure they are well coated with the olive oil
- Turn all the Brussels sprout halves CUT SIDE DOWN. This takes a tiny bit of extra time but is soooo worth it to achieve that flat caramelized surface!
- Be sure the sprouts are in a single layer and not too crowded. We want them to roast, and get crispy, rather than steam. Brussels need their space!
- Bake for about 20 minutes. Times will vary based on your individual oven and the size of the sprouts.
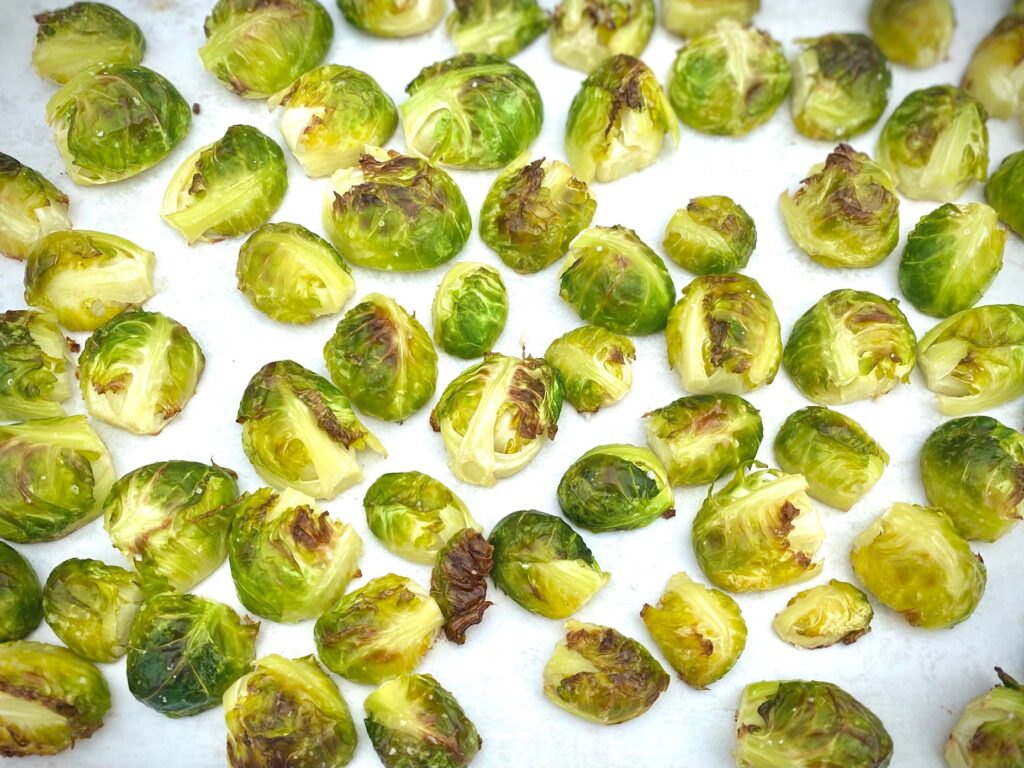
Check for caramelization after 18 minutes
- Do not turn the sprouts during the cooking time. Unlike most vegetables these veggies benefit from being left alone to roast and become golden
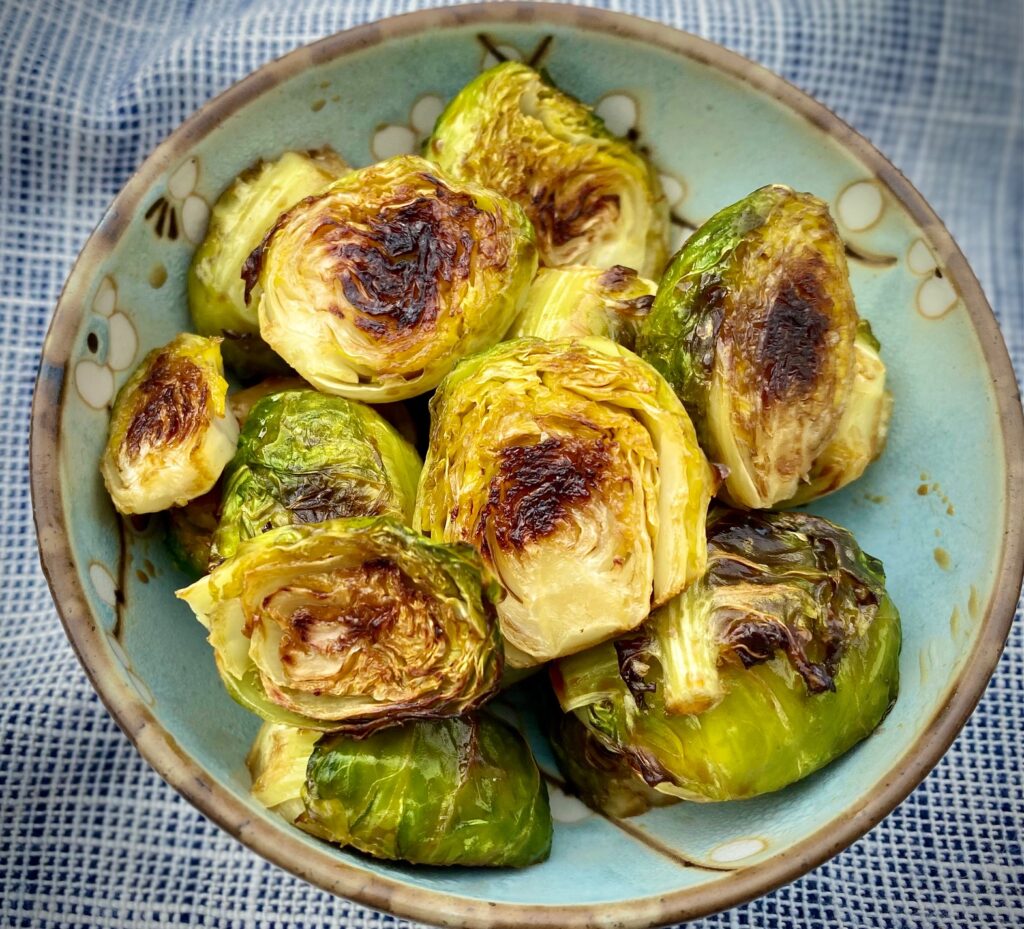
- To check for doneness take a peek at the underside of a Brussels sprout half. You should look for a deep golden color and even a little browning in some areas. The inside should offer little resistance when pierced with a sharp knife tip or a fork
- Remove from oven and serve piping hot
- Left overs can be stored up to 3-days in the refrigerator
Variations on the basic recipe:
One of the amazing things about Brussels sprouts is that they lend themselves well to many other flavors. I like to think about what my main course is and add flavors based on that main dish.
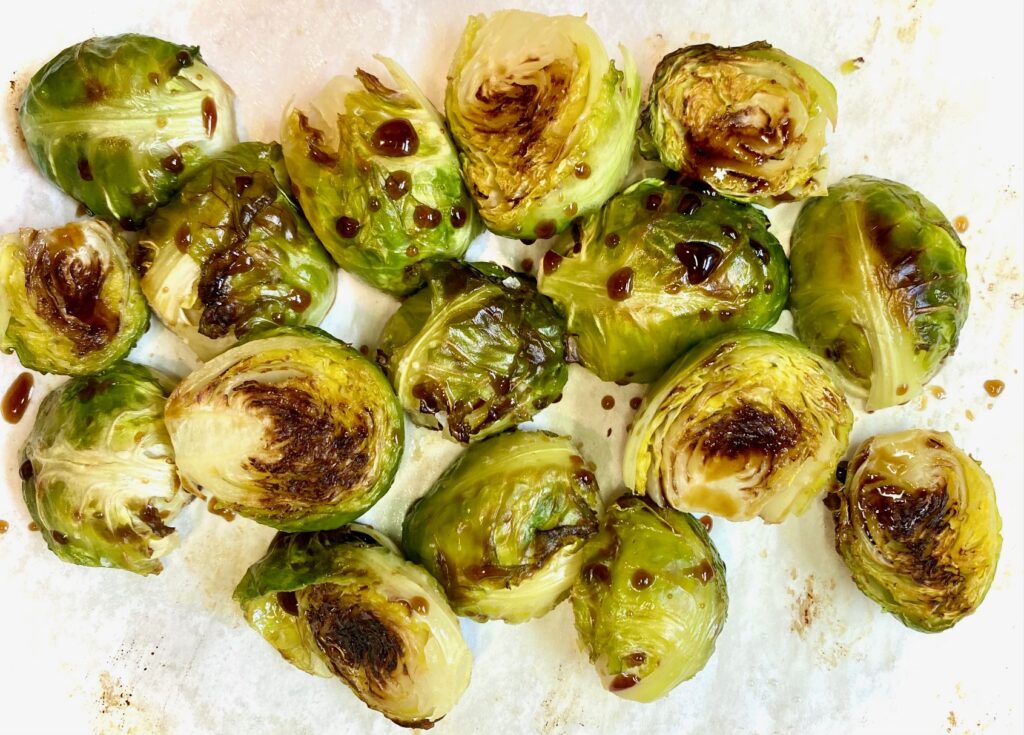
One of the most popular ways to serve Brussels sprouts, especially in restaurants, is with a drizzle of thick balsamic vinegar. If you love this flavor, just drizzle about 1 Tablespoon of balsamic on to the sprouts about 3-5 minutes before the end of cooking. This gives it a chance to infuse, warm, and lightly caramelize with the Brussels sprouts.
My favorite add-on for oven roasted Brussels sprouts is to add 1 teaspoon of chopped garlic and 1 Tablespoon of freshly shredded Parmesan about 3 minutes before the end of cooking. This is just long enough for the cheese to melt. If you don’t like a strong garlic flavor you can substitute the fresh garlic with garlic powder.
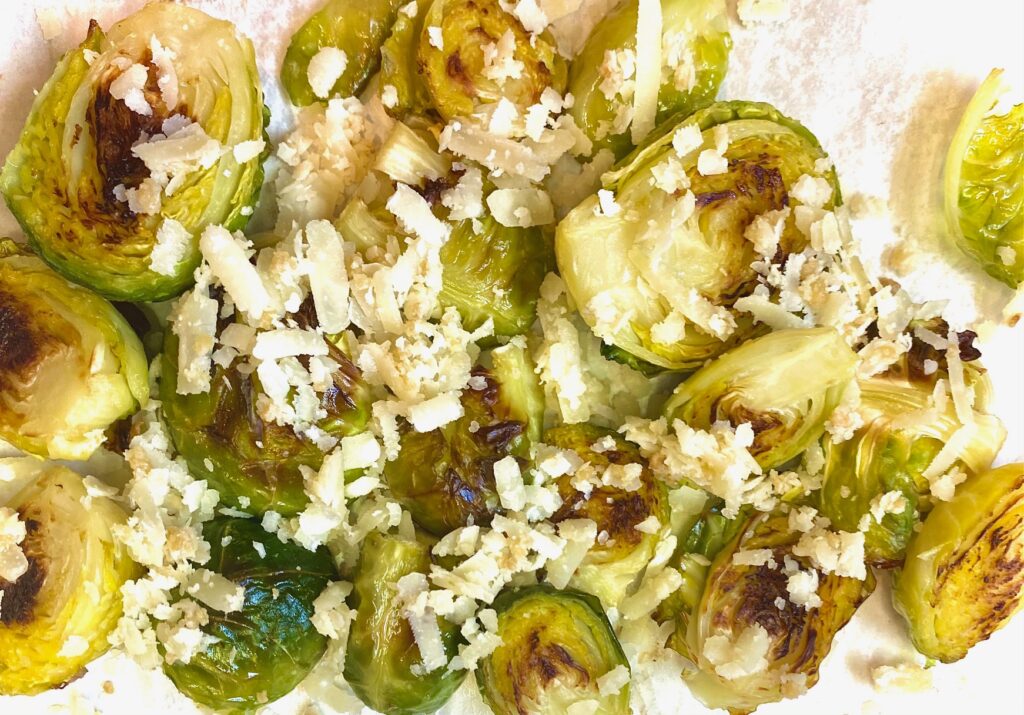
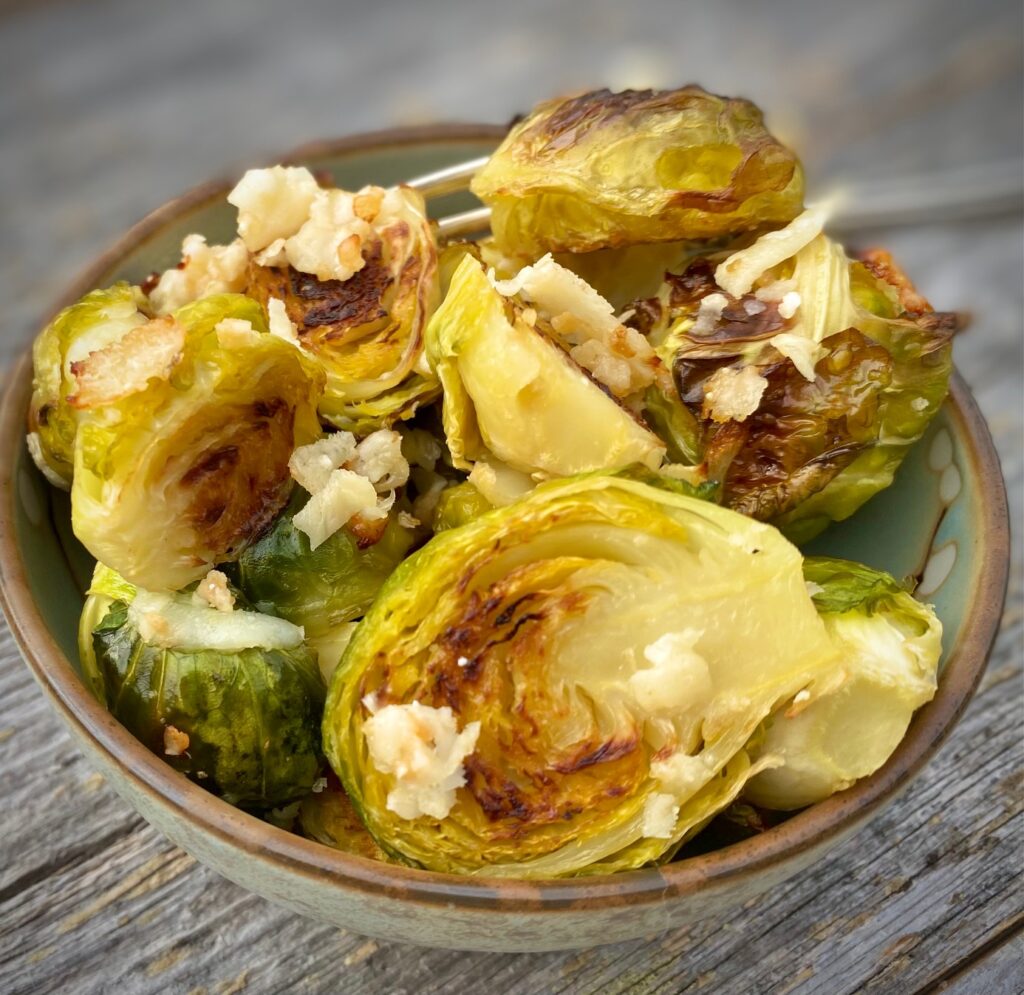
Garlic Parmesan Roasted Brussels Sprouts
Fun fact – How do I spell it?!
One of the most commonly misspelled words is Brussels sprouts, as the letter s is often left off of Brussels. The vegetable is thought to have originated in Belgium, Brussels in the 16th century. The spelling makes sense if you think of it this way because the vegetable name is spelled exactly like the city of Brussels, and is always capitalized.
Great Main Dishes for pairing Brussels Sprouts
- The light spicy flavor of our Chicken Paprikash is a great compliment to the roasted flavor of these sprouts
- Oven Baked Salmon and Brussels sprouts are a great marriage of flavors
- Try pairing these Brussels sprouts with our zesty Chili Lime Pork Tenderloin
- Firing up the grill? Roast these in the oven while grilling our Jerk Chicken Recipe
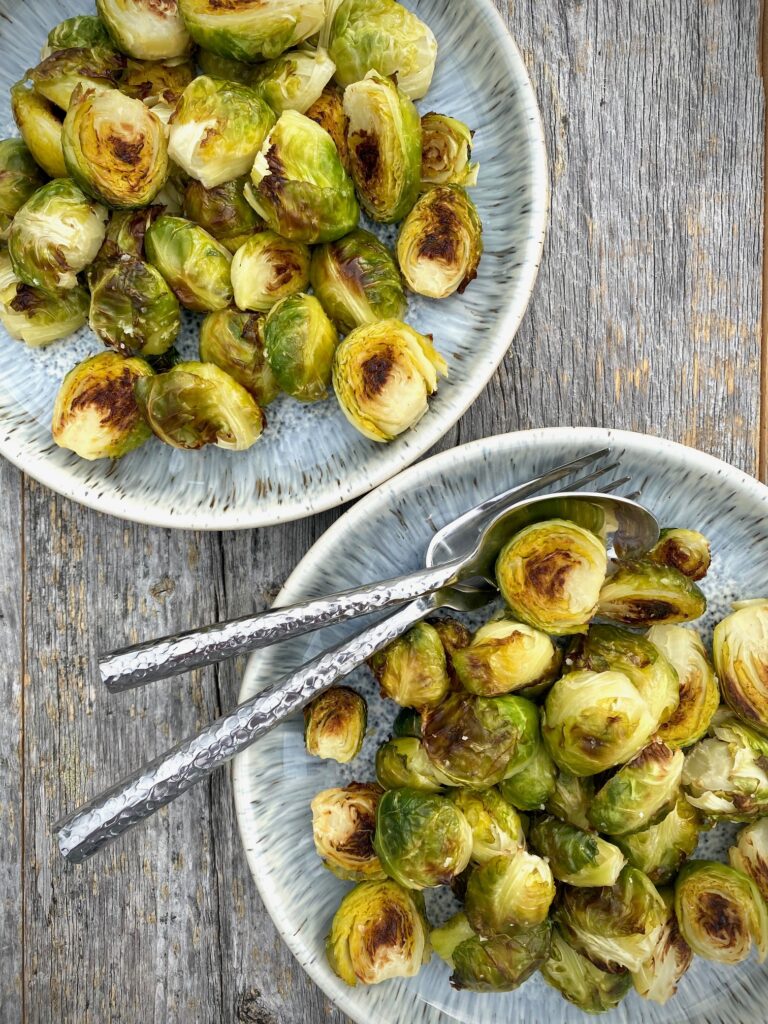
Pan Roasted Brussels Sprouts
Ingredients
- 2 pounds Brussels sprouts
- 2 Tablespoons olive oil, + more if needed
- 1 teaspoon fine sea salt
Instructions
- Preheat the oven to 425°F. Line a large baking sheet with parchment, if desired. (Makes for easy clean up)
- Clean and pat dry the Brussels sprouts.
- To prep the sprouts remove the scruffy and discolored leaves from each sprout. Cut the hard stem off the bottom of each sprout.
- Slice each Brussels sprout in half cutting from the stem flat end through the top.
- Place the Brussels sprouts on the baking sheet, drizzle with the olive oil and sprinkle with the sea salt. Toss to evenly coat all of the Brussels sprouts.
- Place the sprouts flat (cut) side down in a single layer on the baking sheet.
- Roast in preheated oven for 18-25 minutes, or until the sprouts are deep golden around the edges and tender on the inside. The sprouts should be easily pierced with a fork.
- Gently toss and serve while warm.
Notes
- Using parchment paper on the baking sheet makes for quick clean-up!
Nutrition
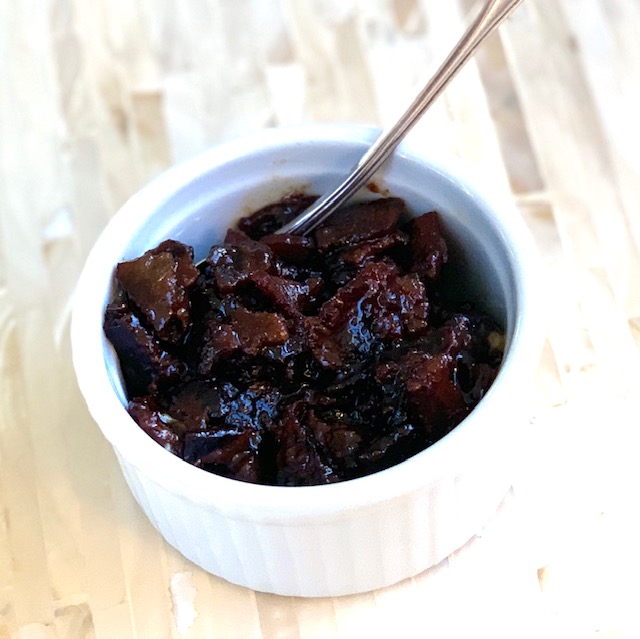
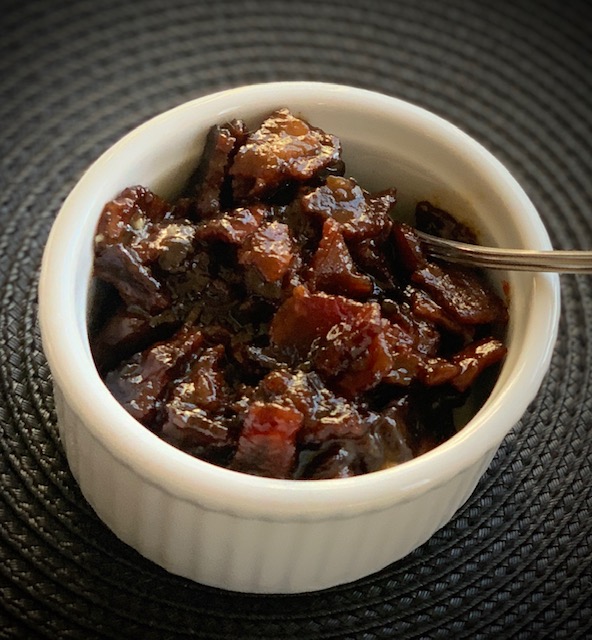
What is Bacon Jam?
Bacon Jam is slow-cooked smoky bacon and sweet onions that caramelize, while cooking, with maple syrup, into a salty sweet condiment.
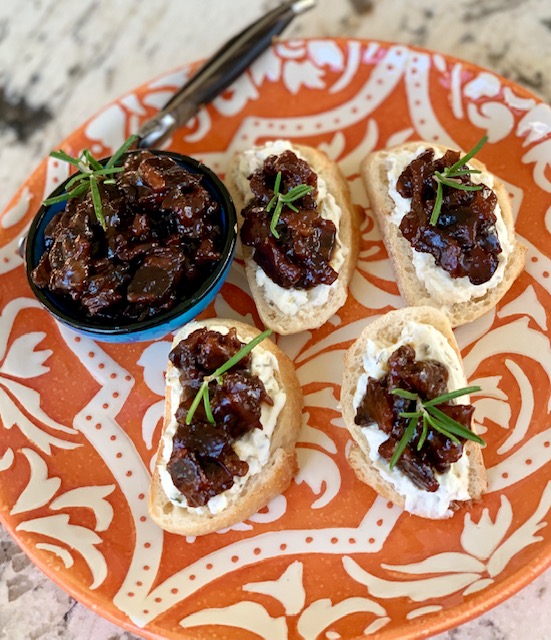
Bacon Jam is the most wonderful appetizer when it’s spread on top of a crostini but is also perfect in many other dishes.
We love to smear this jam on a juicy grilled hamburger to make a bacon jam burger. Try it in place of regular bacon on a BLT sandwich or on top of scrambled eggs.
This post may contain affiliate links. Read our disclosure policy.
If you want to make entertaining easy be sure you have a few appetizers that take just 5-minutes to prepare. Easy appetizers make parties and gatherings so much less stressful, and give you time to enjoy your own party!
This easy bacon onion jam recipe is perfect for gatherings because you prepare it ahead of time in the slow cooker. Simply sauté the bacon and onions and the you can finish the rest, hands-off, in the slow cooker. Bacon is always a hit!
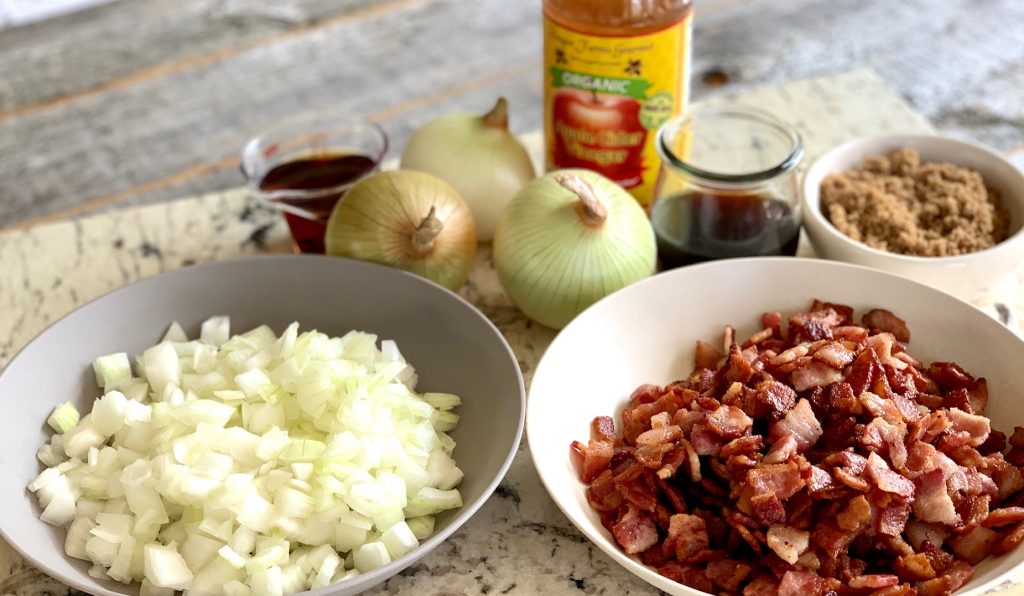
Ingredients for Slow Cooker Bacon Jam:
- Bacon
- Sweet Yellow Onions
- Garlic
- Light Brown Sugar
- Brewed Coffee or Espresso
- Apple Cider (or white) Vinegar
- Maple Syrup
Quality counts so be sure to use 100% real maple syrup, not artificially flavored syrup. You can substitute white vinegar however, if possible, use apple cider vinegar. Not only does it taste great, but it’s also really good for you.
How to make Slow Cooker Bacon Jam:
This recipe is super simple to make with these instructions and tips:
- Cut the bacon into 1/2″ pieces. The bacon will shrink as it cooks but you’ll want to start with bigger pieces
- Slice the onions thinly to ensure even cooking. Sweet yellow onions work best for this recipe because they help balance out the salty flavor of the bacon.
- Sauté the bacon in a skillet over medium-high heat until lightly browned but not crispy
- Transfer bacon from pan and drain on a paper towel
- Pour off all but one Tablespoon of the drippings from the skillet
- Add the onions and crushed garlic, and cook over medium heat for about 5 minutes
- Mix in brown sugar and cook for one minute until the sugar is melted
- Add water, brewed coffee, vinegar, and maple syrup and stir to combine
- Bring to a boil and cook for about 1 minute, scraping browned bits from the bottom of the pan
- Add bacon back to the pan and mix everything well to combine.
- Pour into the slow cooker
- Cook uncovered on high for about 4 hours until the mixture is thickened to the consistency of jam and is syrupy
- Serve or store in glass jars
How to store and give jam as a gift:
The best way to store easy slow cooker bacon jam is in glass jars. The jam is rich so using smaller 4-6 ounce jars is a good idea, since a little goes a long way. This jam keeps for 1 month in the refrigerator. It tastes best at room temperature or warmed slightly.
I use the 6-ounce wider mouth jars, which you can find on Amazon. This is the perfect gifting size. Attach a note, with ideas for use, and you’ve got an ideal gift. Who doesn’t loves bacon!
How to use Bacon Jam:
There are so many great ways to enjoy this easy jam so try a few!
- Crostini topped with goat cheese/blue cheese and topped with jam. For easy instruction on making perfect crostini see our Bruschetta post.
- Slather on our warm Baking Powder Biscuits
- Dollop on top of waffles with warm maple syrup
- On top of our Buttermilk Pancakes
- Perfect spread on a BLT sandwich
- Great on a juicy grilled burger
- Smother on top of herbed chicken breasts
- Top a glazed pork roast with a layer of bacon jam
- Wrap prosciutto around asparagus spears, brush with bacon jam. and broil until browned
- Top your toast with jam and avocado
- Make a bacon jam pizza
- Perfect as an added layer to a grilled cheese sandwich
Easy Slow Cooker Bacon Jam
Equipment
- Slow Cooker
Ingredients
- 2 lbs Bacon, thick-cut, cut into ½" pieces
- 2 cups sweet onions, thinly sliced
- 1 Tbsp garlic, crushed
- ½ cup light brown sugar
- ¼ cup water
- ½ cup strong brewed coffee
- ¼ cup vinegar, white or apple cider
- 2 Tbsp pure maple syrup
Instructions
- Heat a large frying pan over medium-high heat. Add bacon pieces and cook until lightly browned but not crispy.
- With a slotted spoon transfer bacon from pan and drain on a paper towel. Pour off all but one tablespoon of drippings from the pan.
- Add the onions and garlic, and cook over medium heat about 5 minutes.
- Add brown sugar and cook for one minute until sugar is melted.
- Add water, coffee, vinegar, and maple syrup. Mix to combine. Bring to a boil and cook for about 1 minute, scraping browned bits from the bottom of the pan.
- Add bacon and stir to combine. Transfer mixture into the slow cooker. Set the slow cooker temperature to high.
- Cook uncovered on high for about 4 hours until the mixture is thickened to the consistency of jam and syrupy.
- Serve or use immediately, or let cool and pack into glass jars and store in the refrigerator for up to 1 month. This jam tastes best at room temperature or slightly warm.
Notes
- If a smoother texture is desired transfer the cooked mixture to a food processor and pulse about 20 times
- Cook times can vary based on the size and strength of your crockpot, so check after 2 hours and adjust the time accordingly and add more water if needed