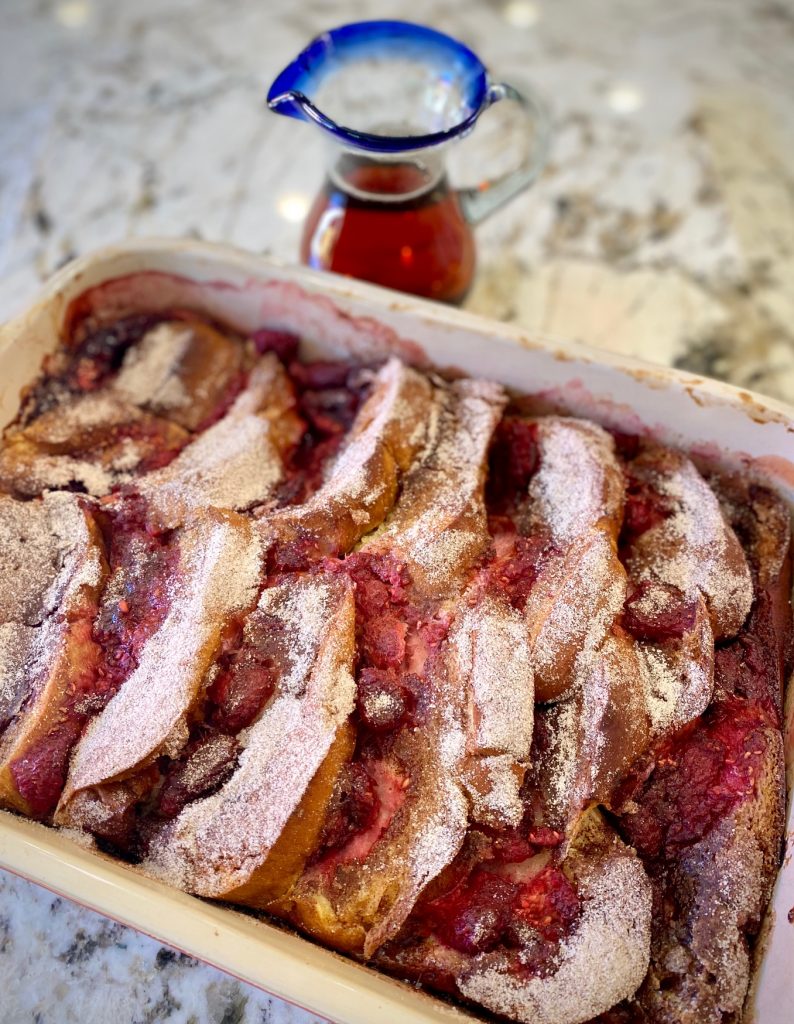
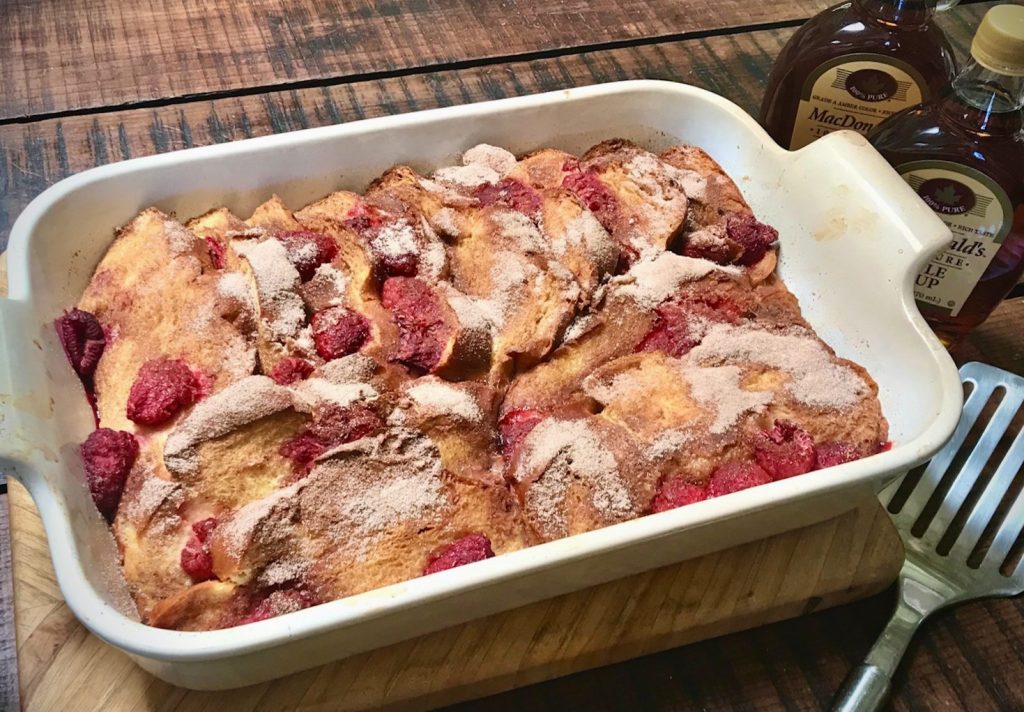
This easy to make French Toast Casserole is amazing for any occasion and especially perfect for a crowd, or brunch, because most of the work can be done ahead of time!
Because this recipe is made early and needs to bake for an hour it allows you time to set your table, cook up some bacon or sausages, and enjoy a Mimosa or Spicy Homemade Bloody Mary with your guests! A win-win in our books!
This post may contain affiliate links. Please see our affiliate disclosure for more details.
French Toast Casserole Ingredients
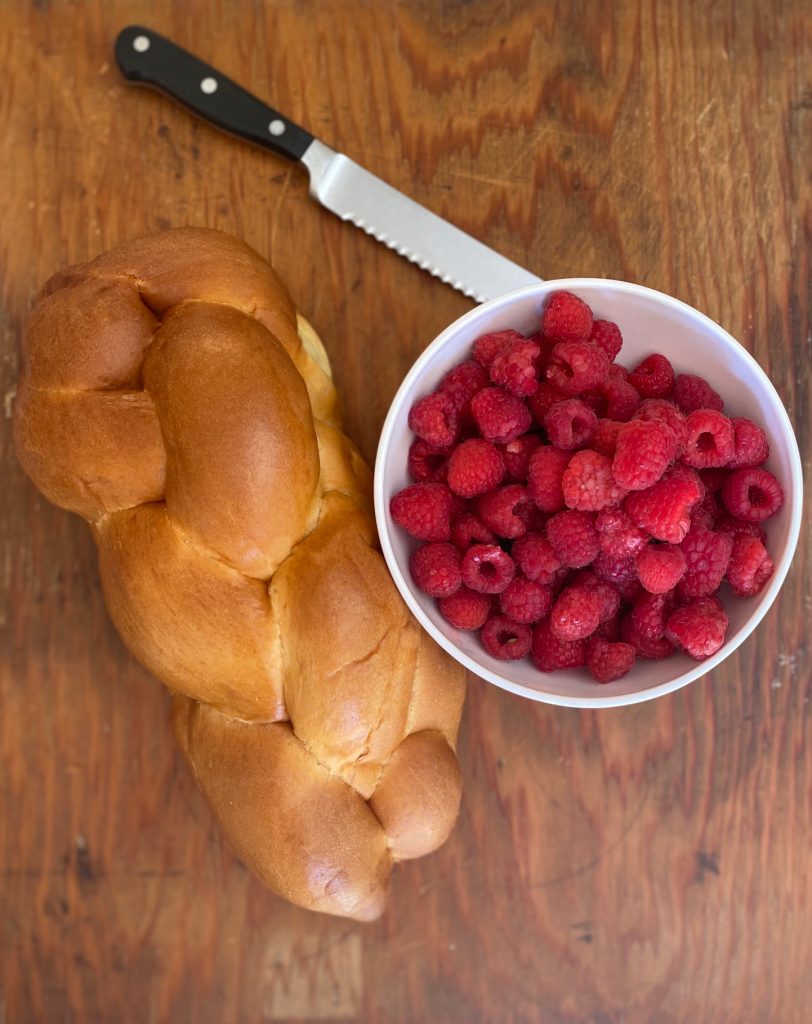
- Challah Bread or Brioche Bread– great bread is the key to this recipe so seek out the best challah or brioche bread you can find. You could also substitute any other thick-sliced bread
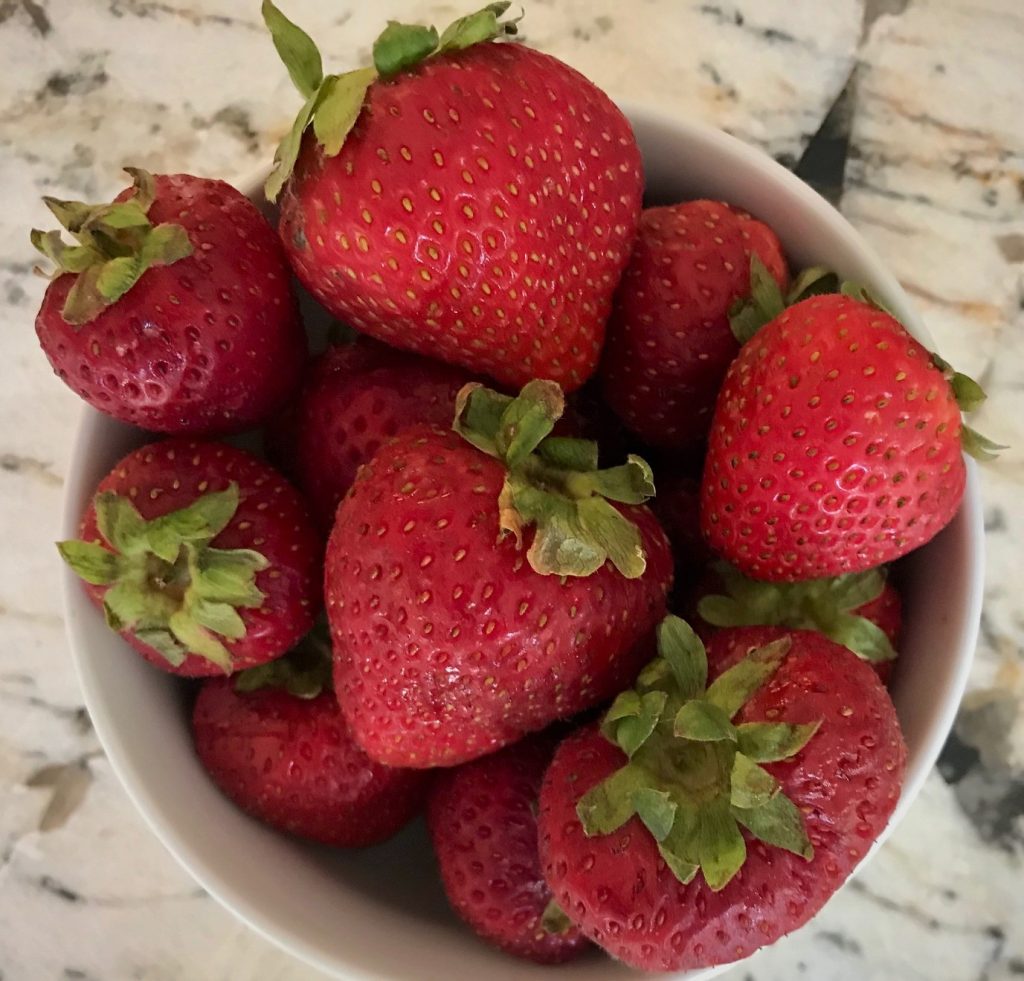
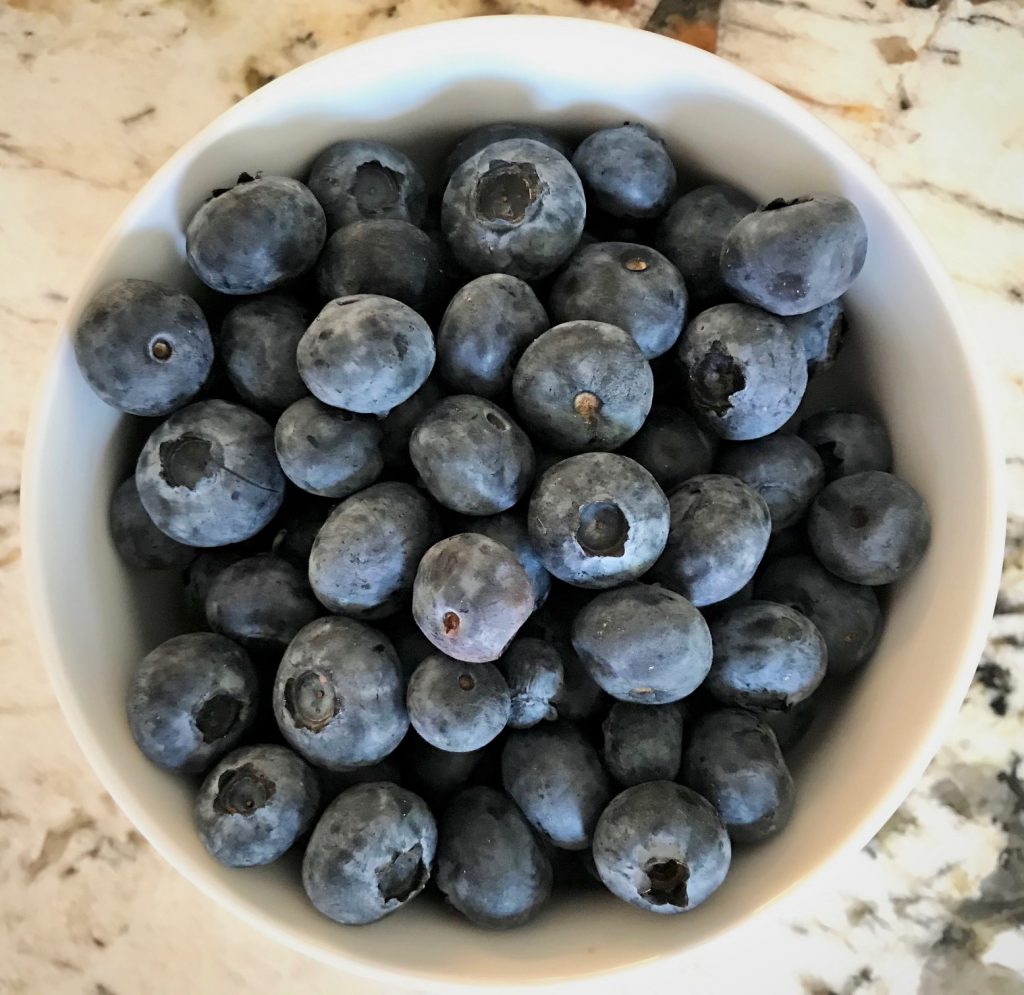
- Fresh Raspberries – strawberries, blackberries, or blueberries will work too. Or try a combo of all of these fruits!
- Eggs – you’ll need 8 whole eggs to create really lovely custardy goodness!
- Vanilla Extract – we love to make our own Vanilla ~ trust us, it’s easy!
- Cinnamon – this is an essential part of any French Toast, and sometimes we add a little more!
- Sugar – this is, after all, a sweet breakfast treat
- Salt – salt helps to balance all the sweet flavors in this recipe
How to make French Toast Casserole
A Step-by-Step Guide:
First Step
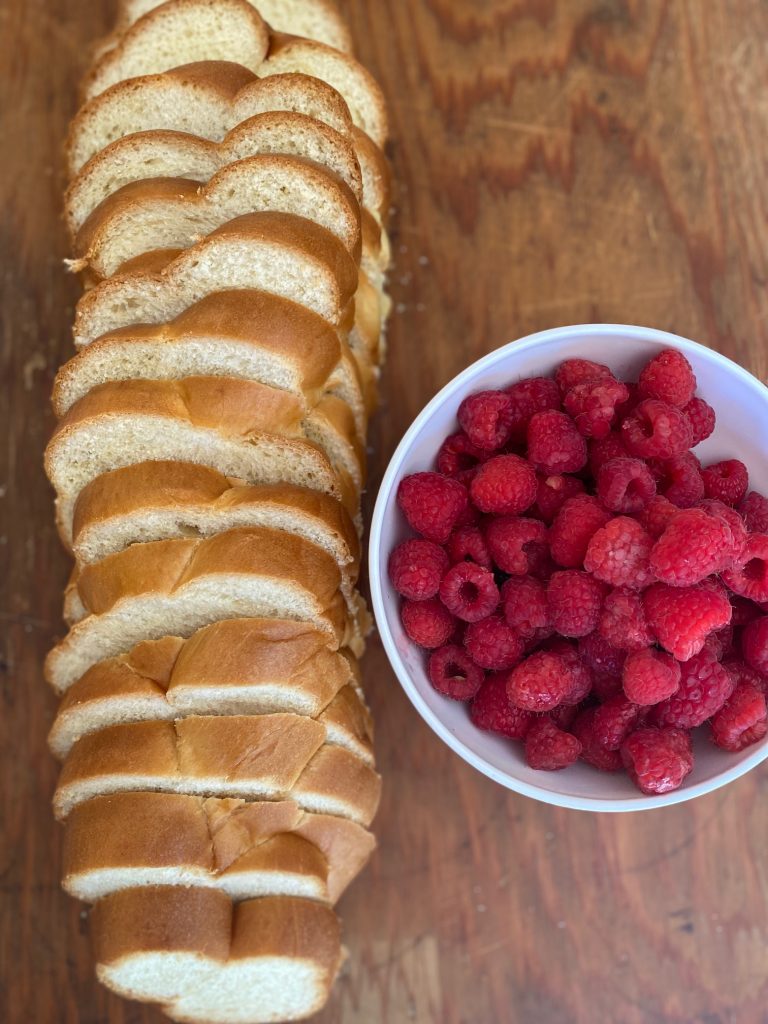
- Cut challah bread into 3/4-inch slices
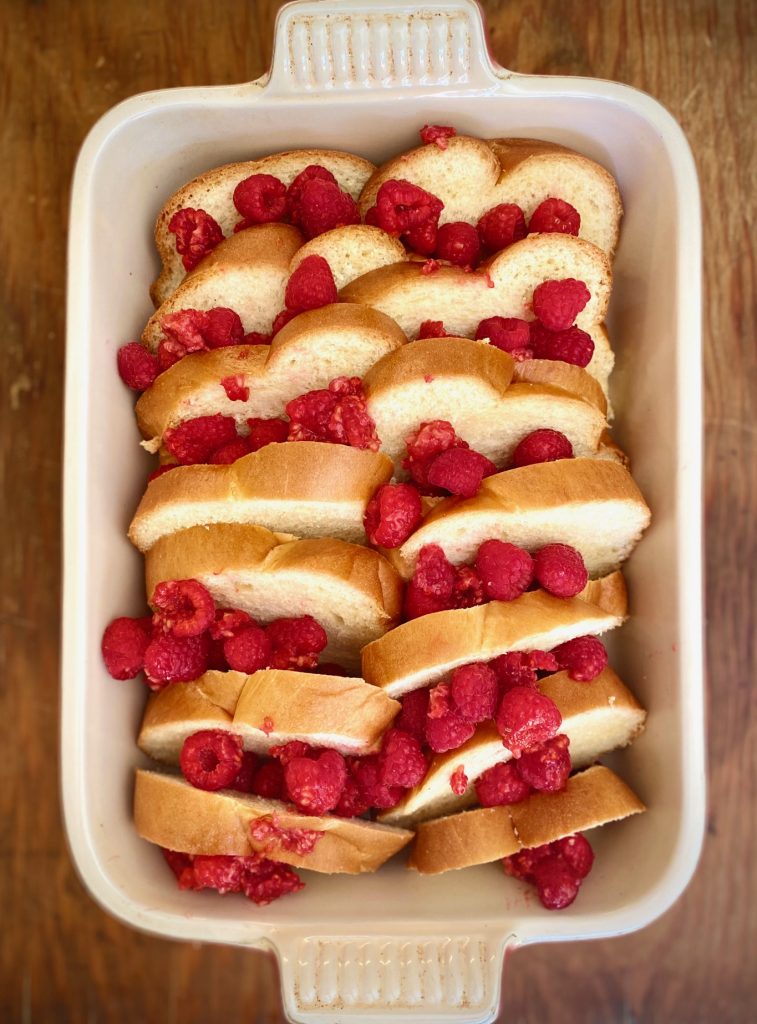
- Arrange sliced bread in a 3-quart baking dish with overlapping layers
- Place fruit evenly in between each layer
- Spread the remaining fruit over the top

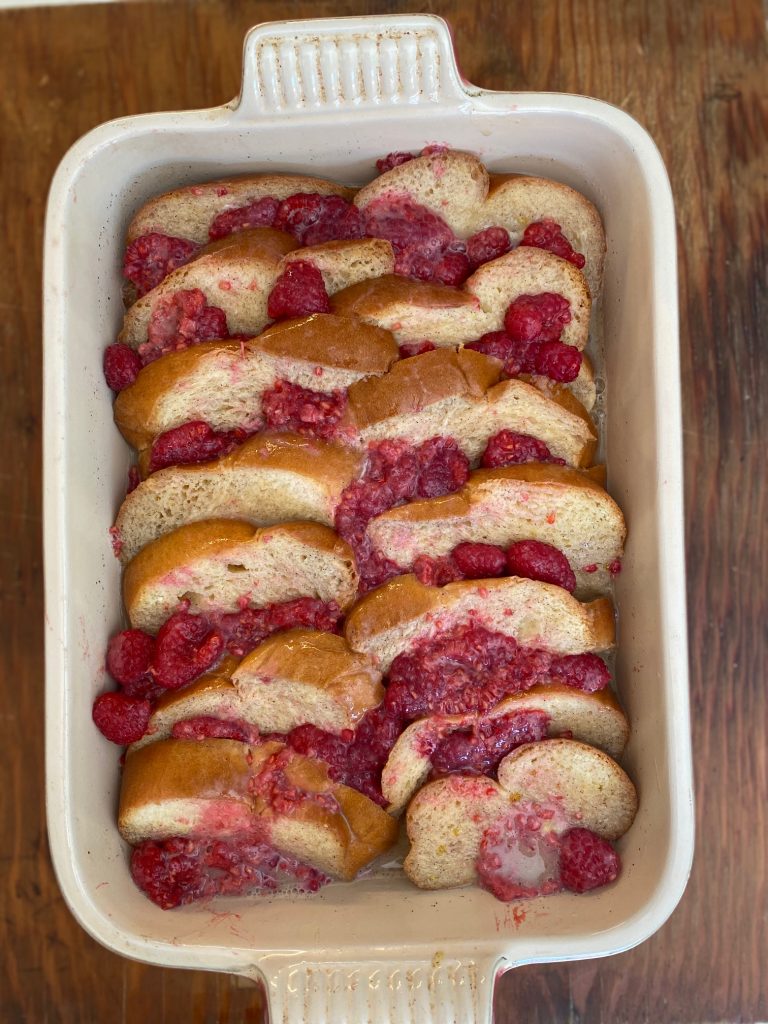
Second Step
- In a large mixing bowl combine 1/2 cup of sugar, 2 teaspoons of cinnamon, and the salt, and whisk to blend
- Add eggs, milk, and vanilla extract and whisk again to combine completely
- Pour the mixture evenly over the bread and fruit
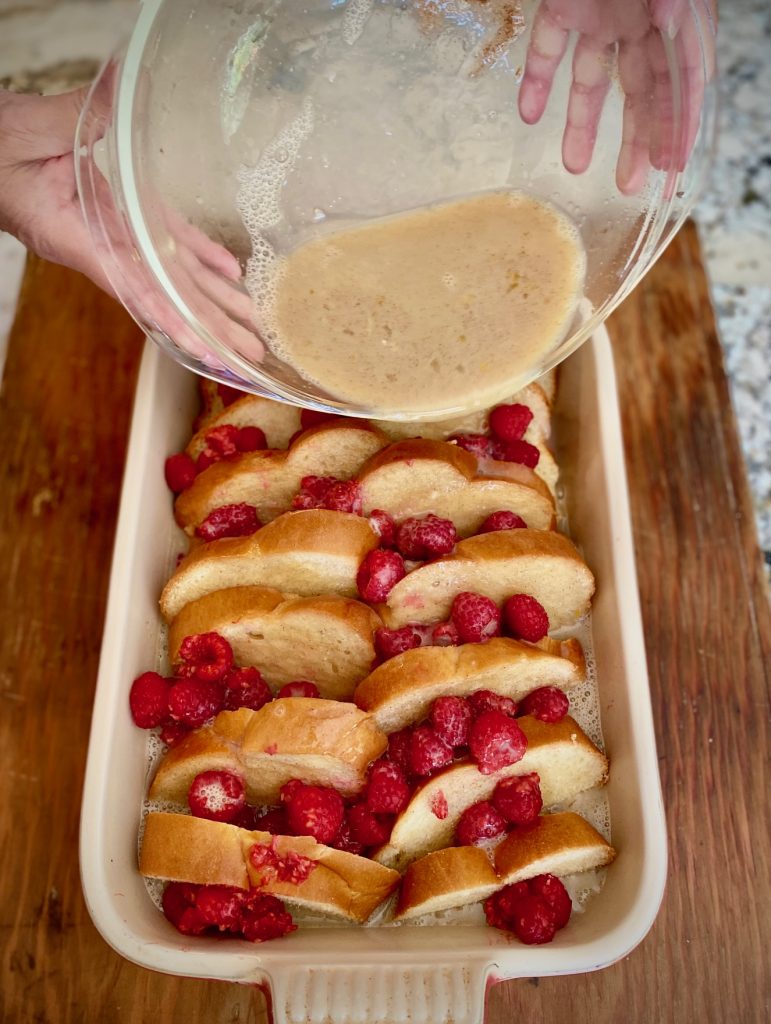
- Press down on the bread and fruit to submerge it in the egg mixture
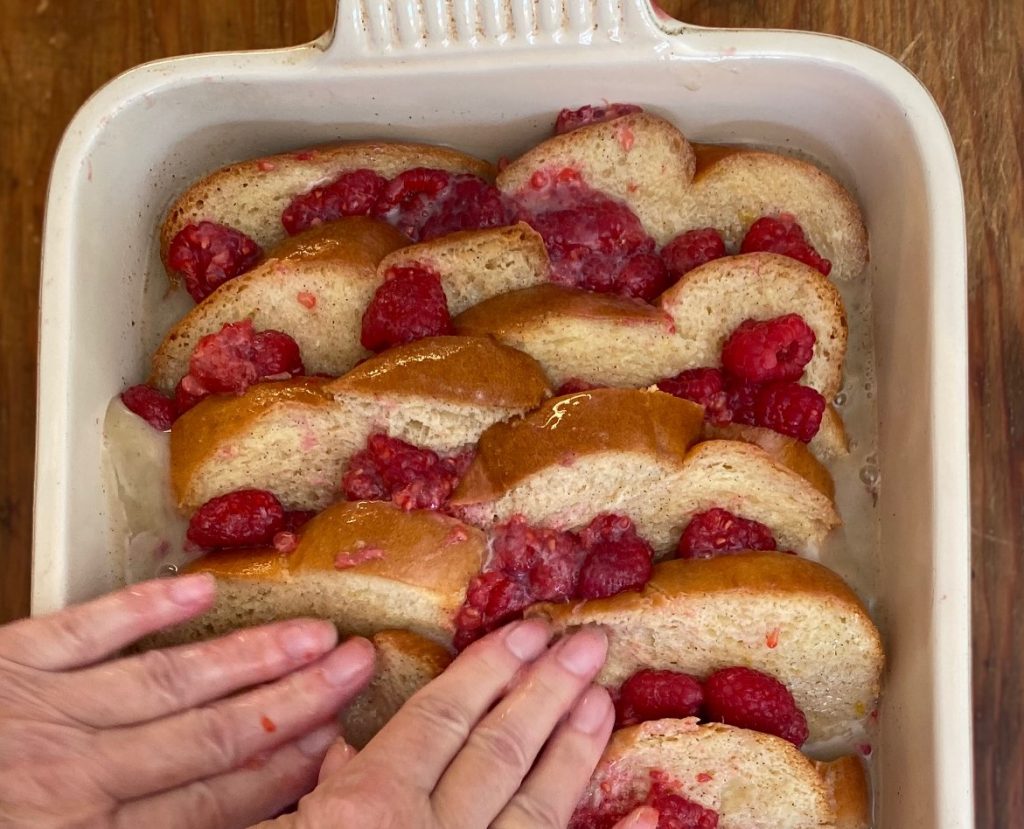
- Allow the French toast to rest, at room temperature, for 1 hour
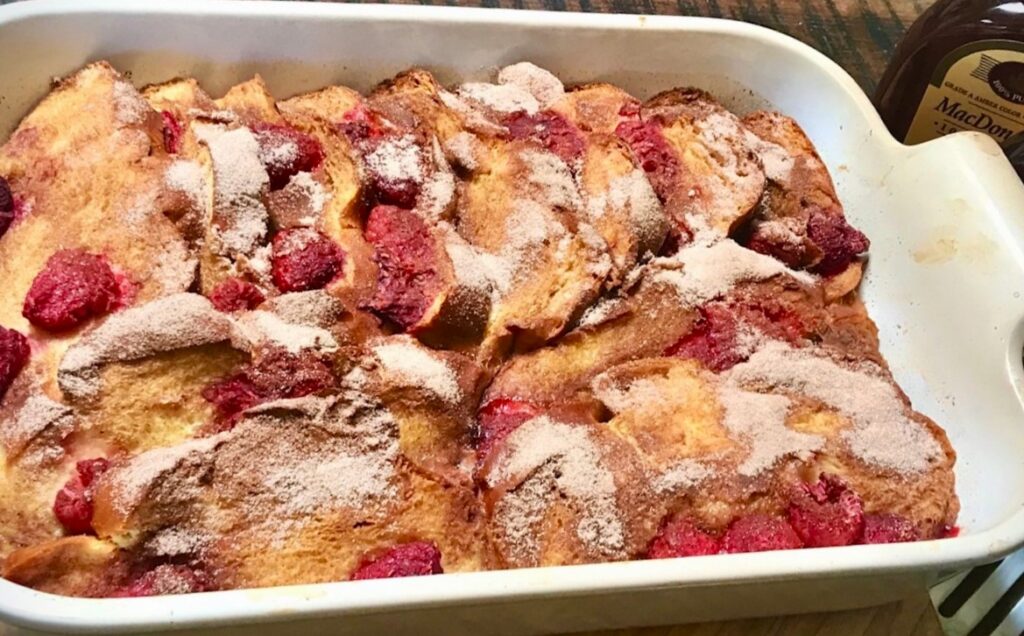
Third Step
- Preheat oven to 350° F
- Mix 1/3 cup of the remaining sugar and 1 teaspoon of the remaining cinnamon
- Evenly sprinkle over the top of the French toast

- Bake for 1 hour. The casserole should be golden brown on the top
- Rest for 10 minutes prior to serving to allow the custard to settle
- Serve with warm maple syrup
Delicious variations for French Toast Casserole
This sweet breakfast favorite will be the hit of your next gathering. It’s an easy, fun recipe with lots of room for variations.
One of the best things about this breakfast bake is all of the flavor variations you can try! Here are just three of our favorites:
- Use blueberries, blackberries, or strawberries for the fruit
- Instead of maple syrup drizzled on top try it with any fruit syrup or sift some powdered sugar on top
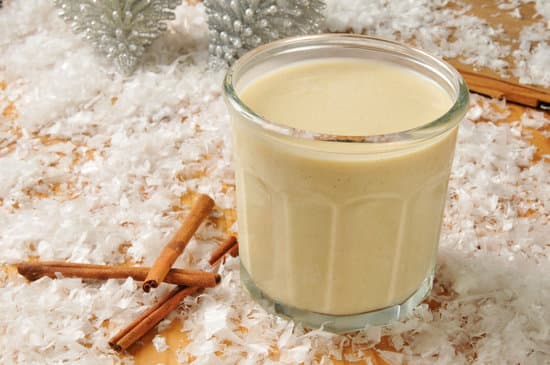
- Replaced the milk 1:1 with egg nog for a delicious holiday twist
Tips and frequently asked questions:
- What caused my French Toast to become soggy?
- Too much milk mixture will prevent the eggs from cooking properly
- If you don’t bake the casserole long enough it can cause the finished toast to be soggy. If it looks at all soupy keep it in the oven longer
- The ideal French toast will be soft on the bottom of the casserole and crisp golden brown on top
- Bread substitute – If you aren’t able to find challah bread we recommend brioche bread as a good substitute
- Warm your maple syrup on the stove or in the microwave before serving. Nothing better than warm syrup!
Fun drinks to serve with your brunch:

Looking for more breakfast & brunch ideas?
- Homemade Fluffy Buttermilk Pancakes
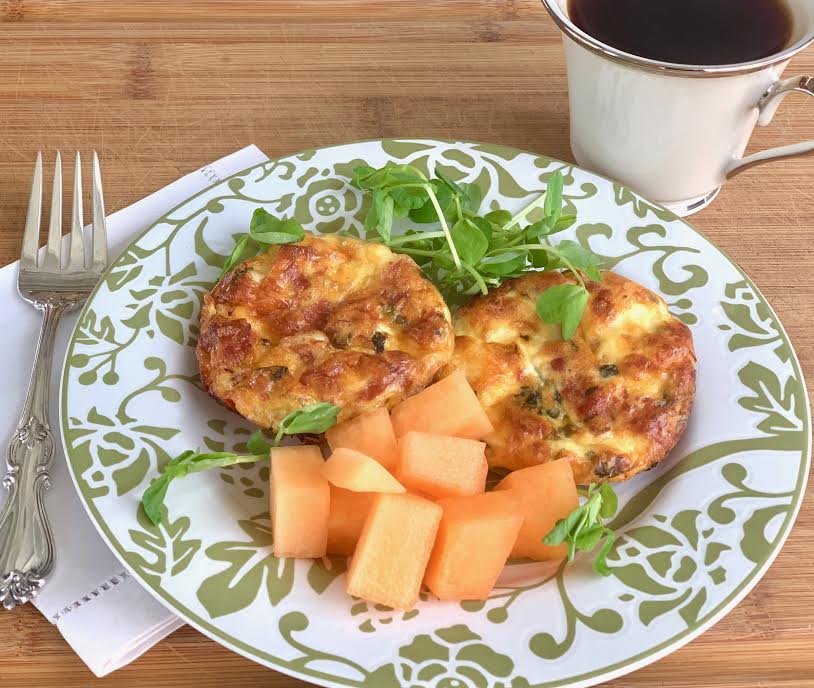
- Crustless Mini Quiche Bites
- Belgian Waffles
- Lemon Blueberry Scones
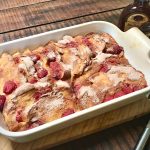
French Toast Casserole
Equipment
- 9" x 12" Baking Dish
Ingredients
- 1 loaf Challah Bread or Brioche
- 18 ounces Fresh Raspberries, Blueberries or Strawberries
- 8 whole eggs
- 2 cups milk
- 3 tsp vanilla
- ½ cup sugar
- 2 tsp cinnamon
- 1 tsp kosher salt
For Topping
- ⅓ cup sugar – set aside for topping
- 1 tsp cinnamon – set aside for topping
Instructions
- Cut bread into 3/4 inch slices
- Arrange in a 3 quart baking dish with overlapping layers
- Place fruit evenly into each layer and spread remaining fruit over the top
- In a large mixing bowl combine 1/2 cup sugar, 2 teaspoons cinnamon, and 1 teaspoon salt
- Add eggs, milk and vanilla, and whisk thoroughly to combine
- Pour egg mixture evenly over bread and fruit. Press bread and fruit down to submerge in the liquid
- Allow to stand at room temperature for 1 hour
- Preheat oven to 350° F
- Mix remaining 1/3 cup sugar and 1 teaspoon cinnamon together and evenly sprinkle over the top of casserole
- Bake for 1 hour until casserole is golden brown on top
- Rest for 10 minutes prior to serving. Serve with warm maple syrup
Nutrition
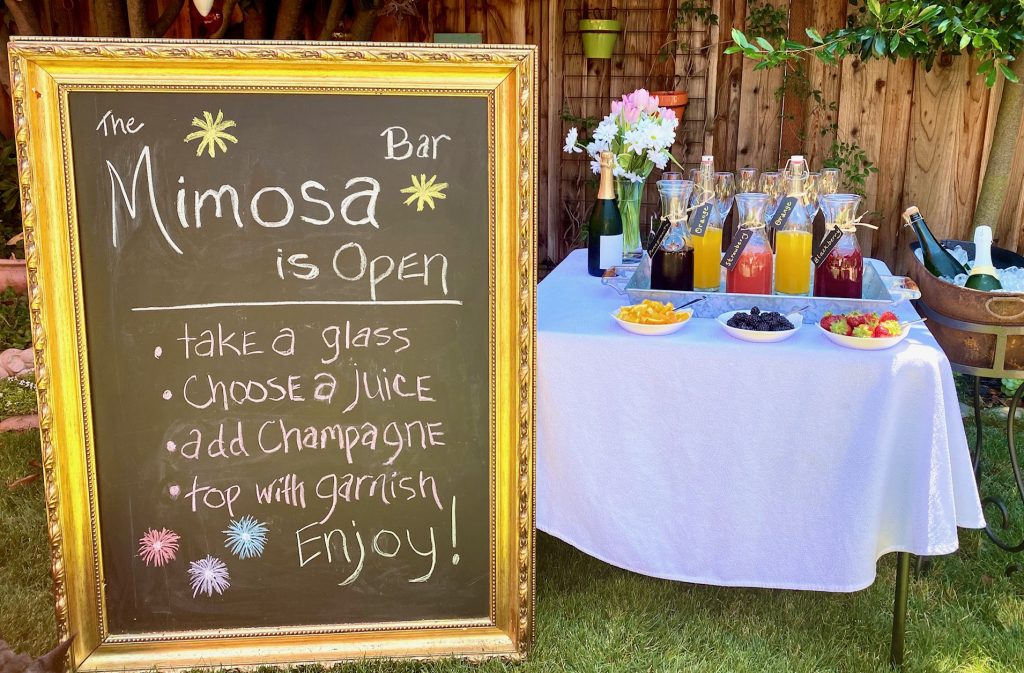
It’s fun to plan, easy to do and your guest will rave. Here’s a step-by-step for your next celebration, get-together, brunch, baby or bridal shower.
A complete guide to building your own Mimosa Bar!
Mimosa Bars are a great way to host friends or have a holiday party because the whole bar can be prepared ahead of time. You can let your guests make their own mimosas by choosing their favorite flavors and fruit garnishes. It’s the perfect way to spend a weekend morning!
Ready to get started? Just click on our “JUMP TO RECIPE” button below. For tips, processes, and substitutions keep reading. This post may contain affiliate links. Please see our affiliate disclosure for details. We only recommend products to you that we love ♥️ and use.
Jump to RecipeWhat you need to set up a perfect Mimosa Bar:
- A variety of cold fruit juices/purees – 4 flavors are ideal – Orange juice is a crowd favorite so consider having double the orange juice. Other favorite flavors include: grapefruit, mango, pineapple, blackberry, strawberry, peach, pomegranate, and blueberry juices
- Champagne – or sparkling wine, on ice. Hosting a baby shower? Include a bottle of non-alcoholic bubbly or ginger ale for the mom-to-be.
- Glass Champagne Flutes – we recommend having a few extra glasses just in case! Tall glasses look gorgeous but stemless wine glasses works, as well. Worried about breakage? There are lots of cute non-breakable glasses available too.
- Garnishes – fresh fruits, you can make fruit slices or wedges, pomegranate seeds, and fresh herbs like rosemary or mint sprigs. The choices are endless!
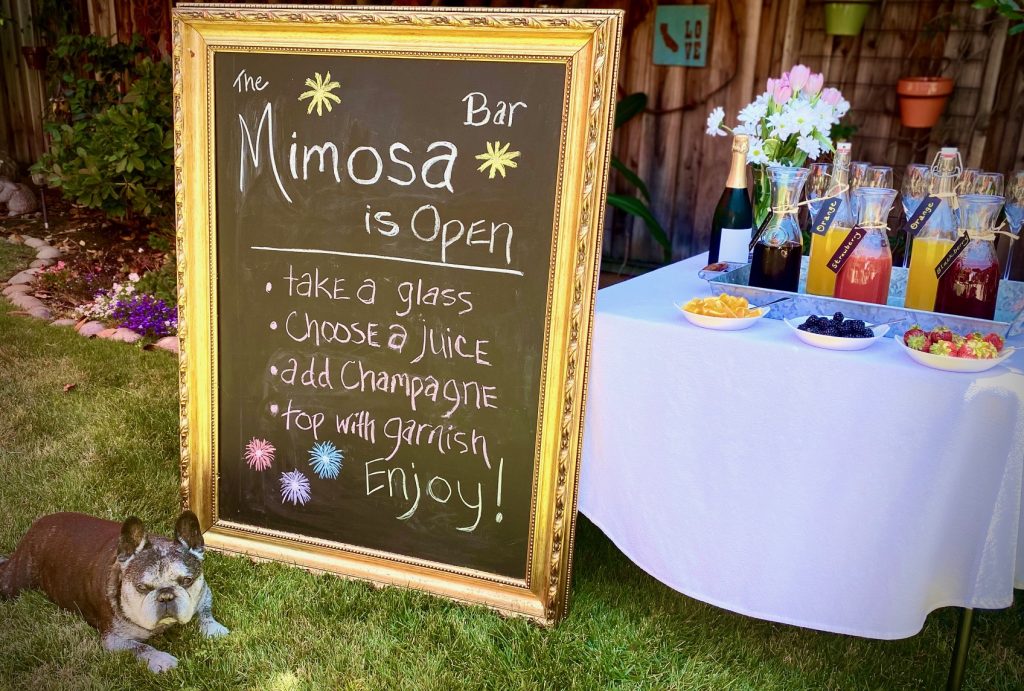
- A fun sign – optional, of course, but a great way to encourage guests to the self-serve bar and make their own drinks
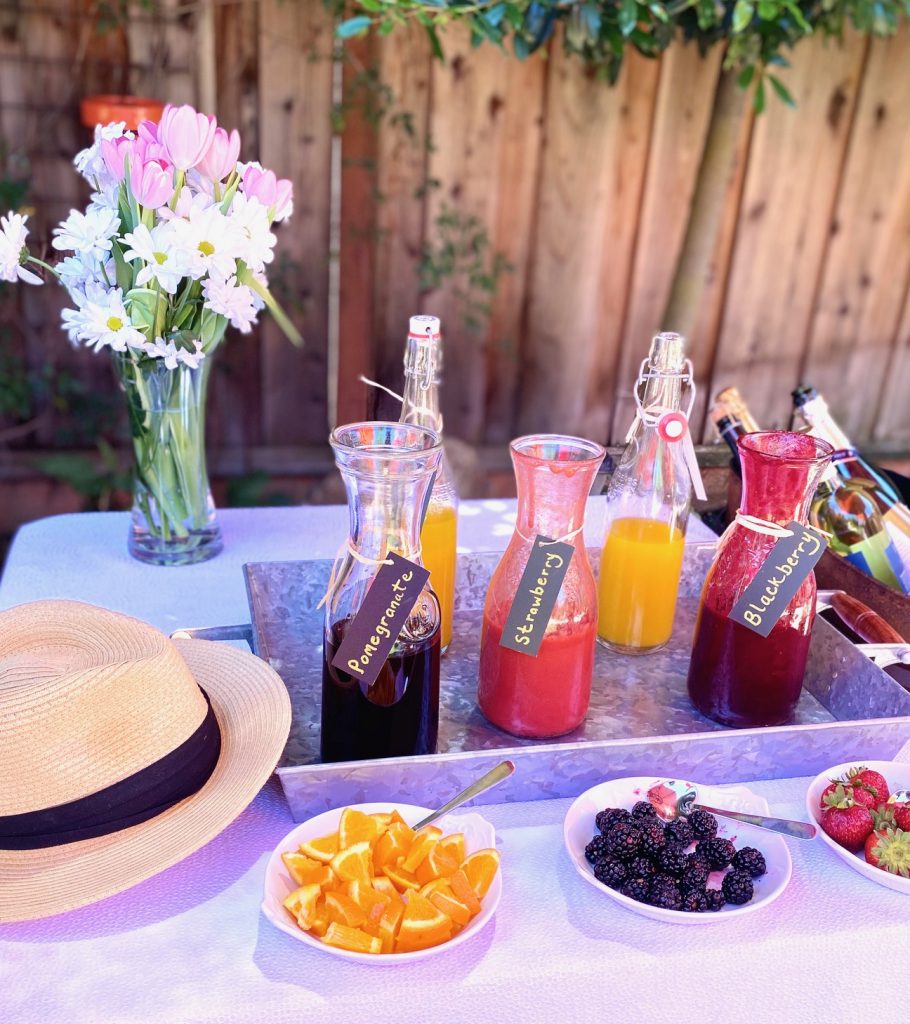
- Labels for the juice bottles – these make it easy to see what’s what and they look cute too. We like to use black labels with raffia ribbons and write the names in gold ink.
We set this bar up with Pomegranate, Strawberry, Blackberry, and Orange juices, plus garnishes that complement the fresh juices
How to set up the ultimate Mimosa Bar
The beauty of a mimosa bar is that guests serve themselves, so be sure to set it up in an area where there is room to move around. It’s best to keep the brunch food in another area.
- Use a table, or countertop, for all of the champagne glasses, variety of juices, and garnishes
- The Champagne bottles should be very cold, so set up a wine bucket, or ideally a larger ice bucket container that can hold a few bottles. The fizzy needs to be chilled!
- If possible use tall Champagne flutes because they will show off the beautiful colors of the mimosas. Pull out your prettiest flutes, and don’t worry if they don’t all match.
- Label your juice carafes so your friends know what type of juice is in each one. We labeled our carafes with black tags and tied the label on with raffia to keep it simple.
- Set out small bowls of garnishes that complement your juices
- We made a fun sign to make the party complete!
Mimosa Bar Fresh Fruit Juice Ideas:
We suggest having 4 different flavors of juice and purees for your bar. Use fresh juice or make your own purees (see below for how to make juice puree).
Here are our favorites for color and variety:
- Orange Juice – this is the traditional juice for mimosas so consider having double the amount
- Strawberry Puree
- Pomegranate Juice
- Blackberry Puree
You might also want to consider these juices and purees:
- Watermelon
- Mango
- Pineapple
- Raspberry
- Blueberry
- Peach
- Cherry
How to make fruit juice purees:
Making your own fruit puree is easy and makes the best tasting mimosas!
- Blend 2 cups of fresh fruit in a blender
- Add 1 cup of Simple Syrup and blend again
- Taste for sweetness and add more simple syrup if needed
- Strain to remove any seeds
- Chill before serving
- Put each juice into its own labeled carafe
- This makes about 22-24 ounces of fresh juice or puree
To see more about making simple syrup check out detailed directions on our How to Make Simple Syrup story. Simple syrup can be made quickly by combining 1 cup sugar and 1 cup water in a small saucepan. Bring to a boil, stirring to combine, until all the sugar is dissolved.

Pomegranate, orange, blackberry, and strawberry Mimosas
How to make Mimosas:
The best part of making mimosas is it’s super simple! This ratio will give you the information you need to start planning for your next special occasion or large oparty.
- Combine 1 part juice/puree
- Add 2 parts Champagne to a flute
- Add the garnish
How much Champagne do you need for a Mimosa bar?
Each 750 ml bottle of Champagne contains 25 ounces of bubbly, which will give you 6 glasses with 4 ounces of Champagne in each. Of course, the amount you need depends on your friends and the size of glasses you use.
Here’s an easy to use guide:
Garnishes:
Garnishes add to the fun so be sure to put out some gorgeous berries and other things to top your bubbly!
Garnish Ideas:
- Choose berries that match your juices. We like strawberries, blackberries, and orange slices
- Pomegranate seeds
- Fresh herb sprigs, such as rosemary, mint, or lavender
What is the best Champagne to use?
Our favorite choice for a great Mimosa is Brut Champagne or Sparkling wine. You can purchase a medium-priced wine for Mimosas or even use a Spanish cava.
Champagne is our first choice, but you can also use Cava or Prosecco. Both are well priced. Champagne or Sparkling wines will give you fine, persistent bubbles.
Some great brunch menu ideas:
- Buttermilk Pancakes
- Homemade Belgian Waffles
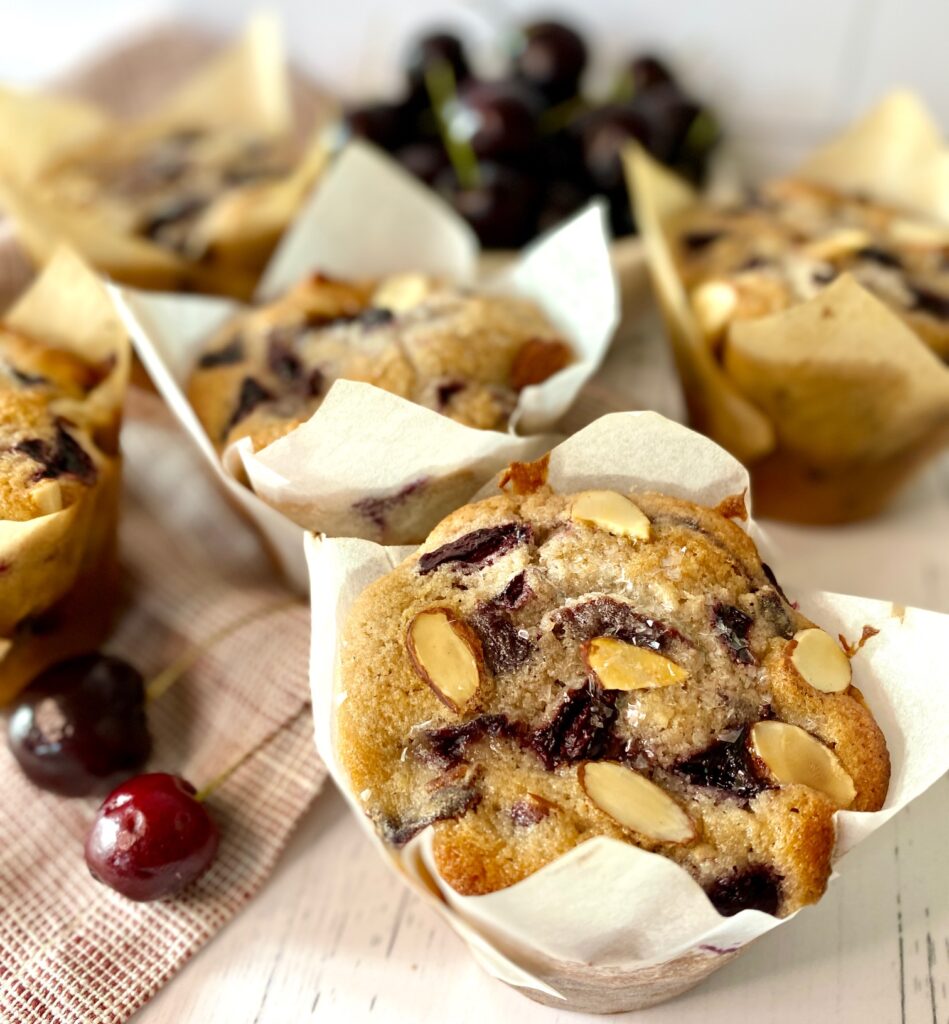
- Cherry Almond Muffins
- Baked French Toast
- Crustless Quiche Bites
- Blueberry Lemon Scones
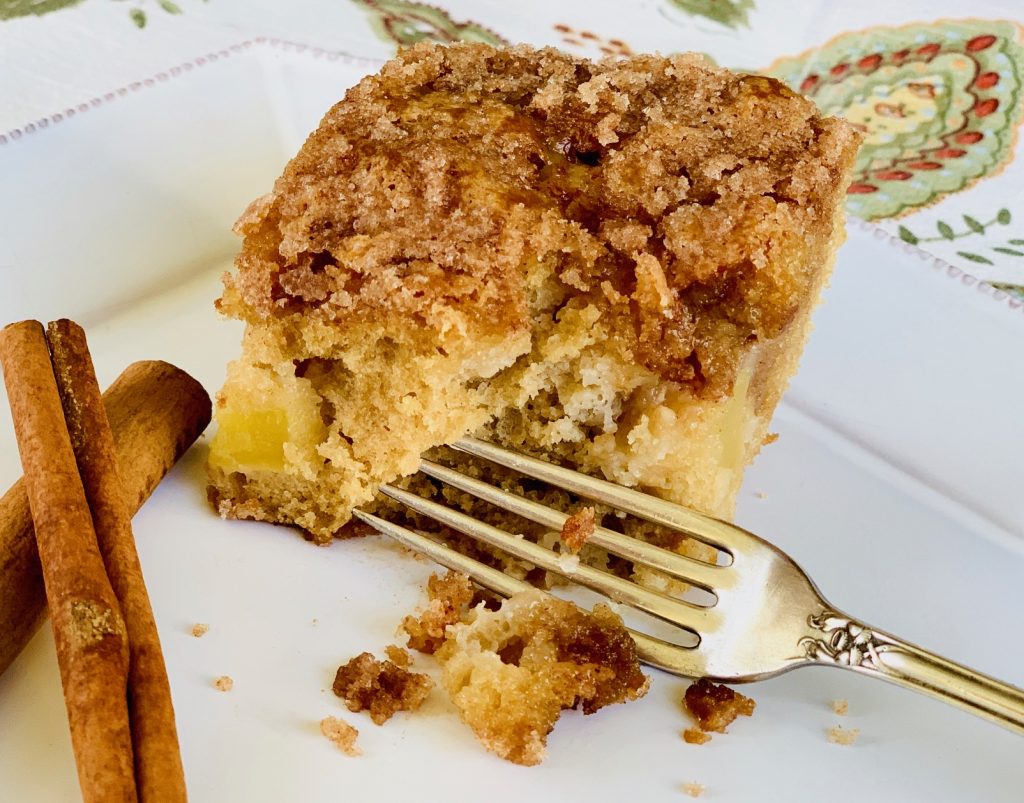
- Cinnamon Coffee Cake with Apples
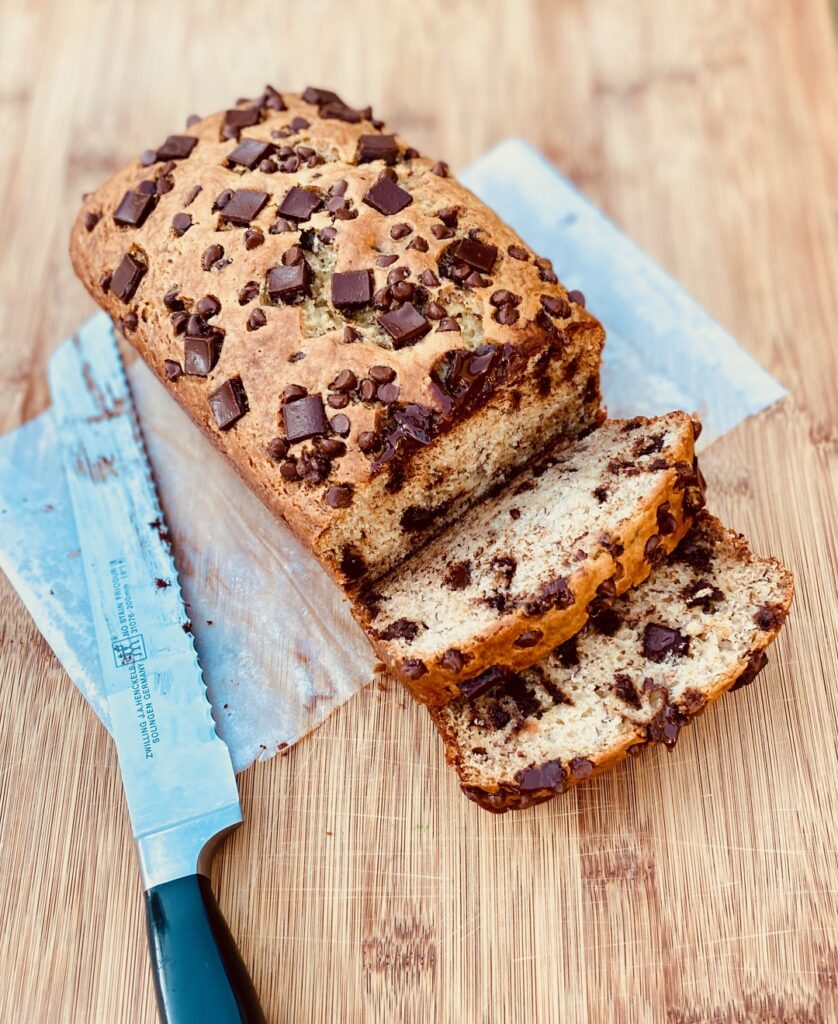
- Buttermilk Banana Bread with Chocolate Chips

Mimosa Bar Recipes
Equipment
- Blender
- Strainer
- Juice Carafes
- Champagne glasses
Ingredients
For 24 ounces of Fresh Fruit Juice
- 16 oz of any fresh fruit – blackberries, strawberries, blueberries, oranges, mangos, pineapple, peaches
- 8 oz simple syrup, more or less to taste
For 6 Mimosas
- 750 ml Champagne (1 bottle)
- 24 ounces Juice or Fruit Puree
- Garnishes – fresh fruit, pomegranate seeds, mint sprigs
Instructions
Fruit Purees:
- Blend fresh fruits in a blender. Add simple syrup and blend again. Taste for sweetness and add more simple syrup if needed.
- Strain to remove any seeds. Chill before using. Put in a labeled carafe.
Mimosas:
- Chill Champagne for about 2 hours before serving and then add bottles to a wine bucket filled with ice to keep cold
- Arrange chilled juices around the mimosa bar
- Put garnishes in small bowls and add to the mimosa bar table
- For each mimosa: fill a champagne flute with 2 ounces fruit juice or puree and top with 4 ounces chilled Champagne
- Add garnish and enjoy!
Nutrition
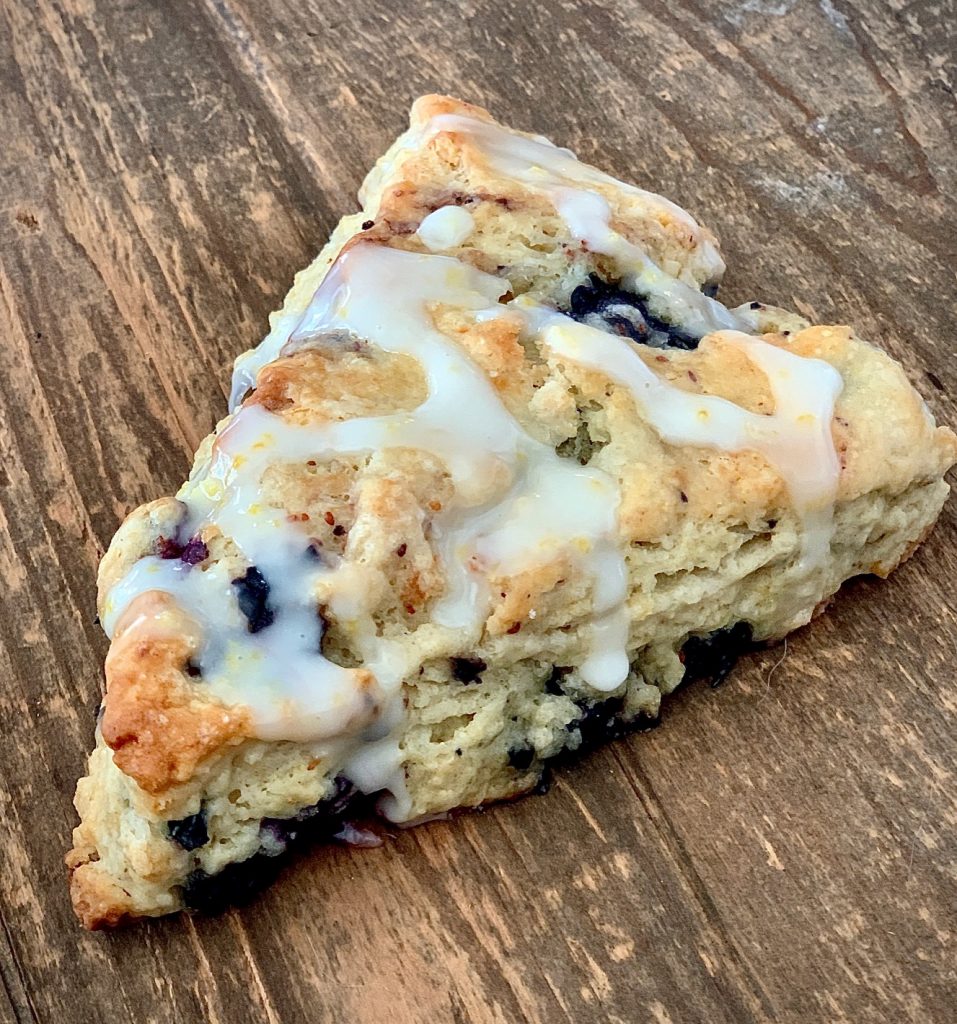
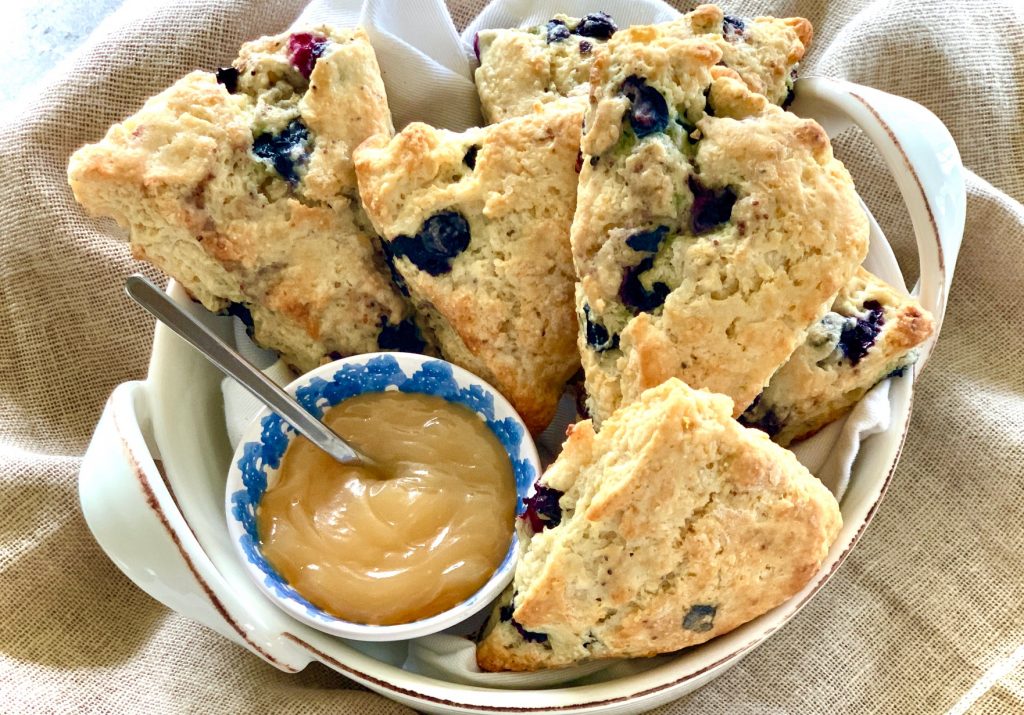
Blueberry Lemon Scones are soft, crumbly, and bursting with flavor!
Most scones tend to be dry so we’ve developed a recipe that is perfectly moist and tender, as well as easy
Blueberries and lemon pair perfectly together, however this recipe is very flexible, so you can use almost any fruit you have on hand. Sprinkle with coarse sugar or drizzle with zesty lemon glaze
This post may contain affiliate links. Please see our affiliate disclosure for more details.
Ingredients Needed
DRY INGREDIENTS:
- Flour and Sugar – the basics for any great baked good
- Baking Powder and Baking Soda – brings the lift and the rise to these scones
- Salt – to balance the sweetness in these scones, and any baked goods
- Lemon Zest – provides a bright burst of flavor
OTHER INGREDIENTS:
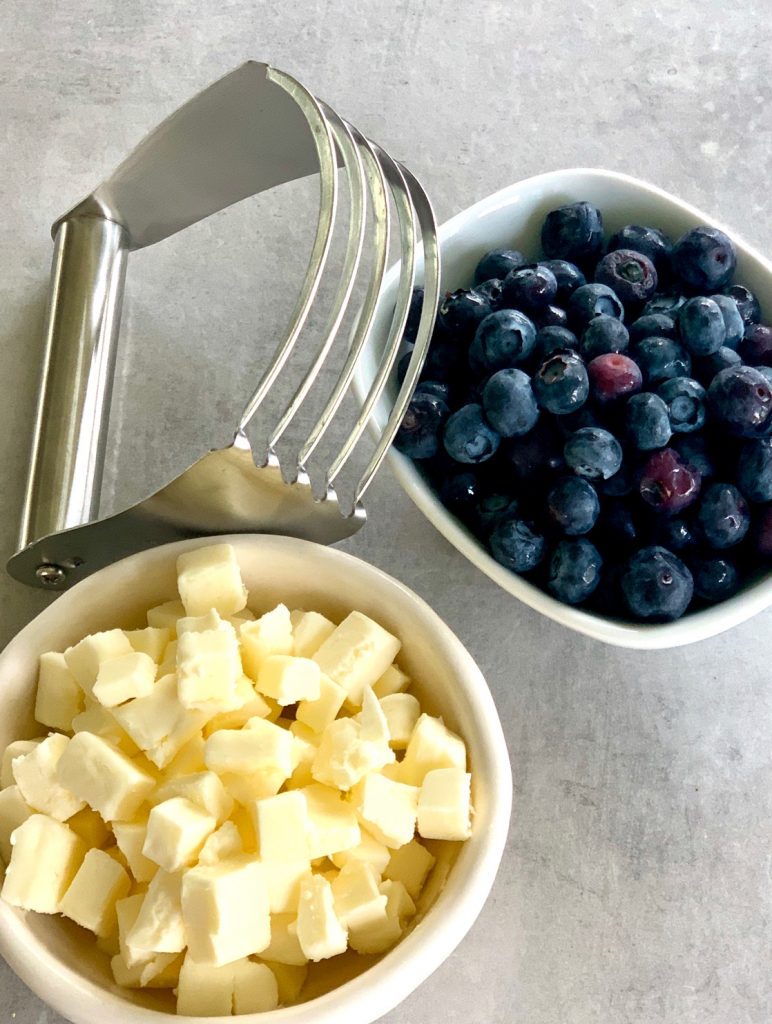
- Butter – unsalted is best but salted will work too
- Lemon Juice – fresh lemon juice will give the best flavor
- Buttermilk – we think this is the secret to tender baked goods
- Blueberries – fresh berries are preferred
- Heavy Cream – just a touch for brushing to top of the scones
- Coarse Sugar – a sprinkling gives the scones a sweet finish and a sparkly top
OPTIONAL LEMON GLAZE – this glaze is optional but an added bonus!
- Powdered Sugar – also called confectioners sugar
- Lemon Juice – fresh and sunny lemon juice makes the glaze zesty
- Vanilla Extract – we love to make our own – give it a try!

Qualities of the best buttermilk scones
- Soft and a bit crumbly
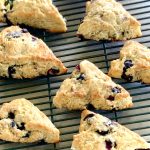
- Golden brown tops and edges
- Moist and soft on the inside
- Slightly sweet and packed with flavor

How to make Lemon Blueberry Scones
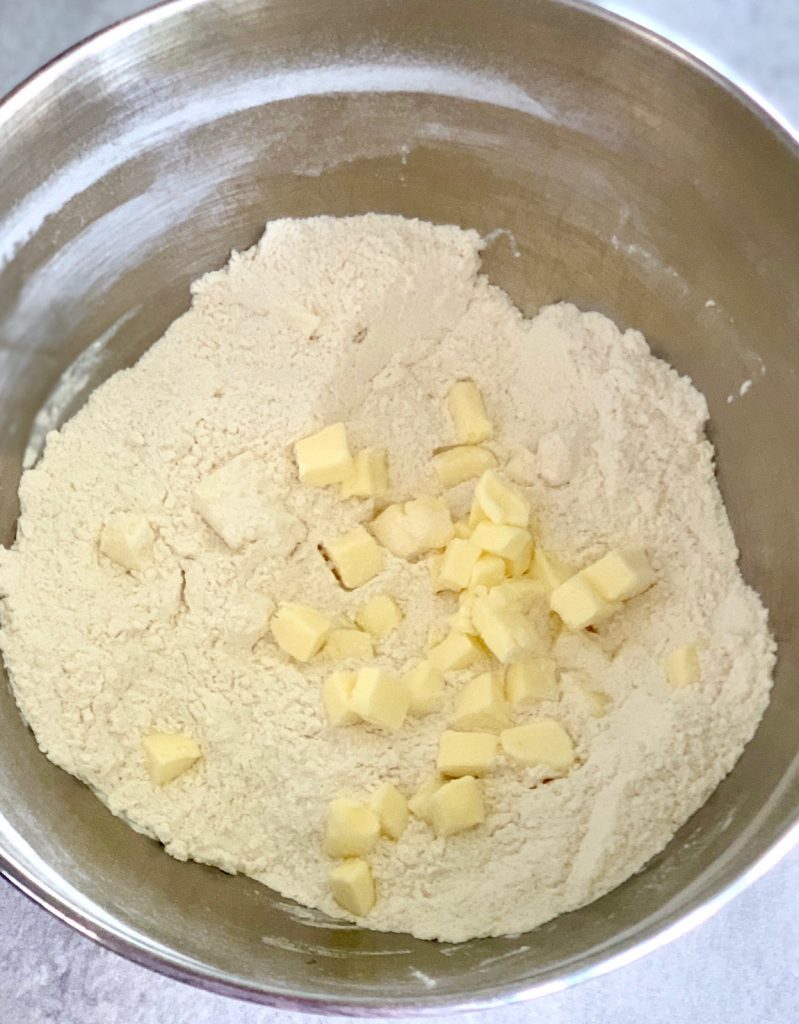
- Whisk all dry ingredients together, including the lemon zest.
- Scatter cold butter pieces into the flour mixture and mix together with a pastry blender or the back of two forks. (I don’t recommend using your hands to blend because the temperature of your hands is too warm and it will cause the butter to start softening.)
- Blend in the butter until the pieces are the size of peas. Be careful not to overmix because too much blending will develop the gluten and make the scones less tender.
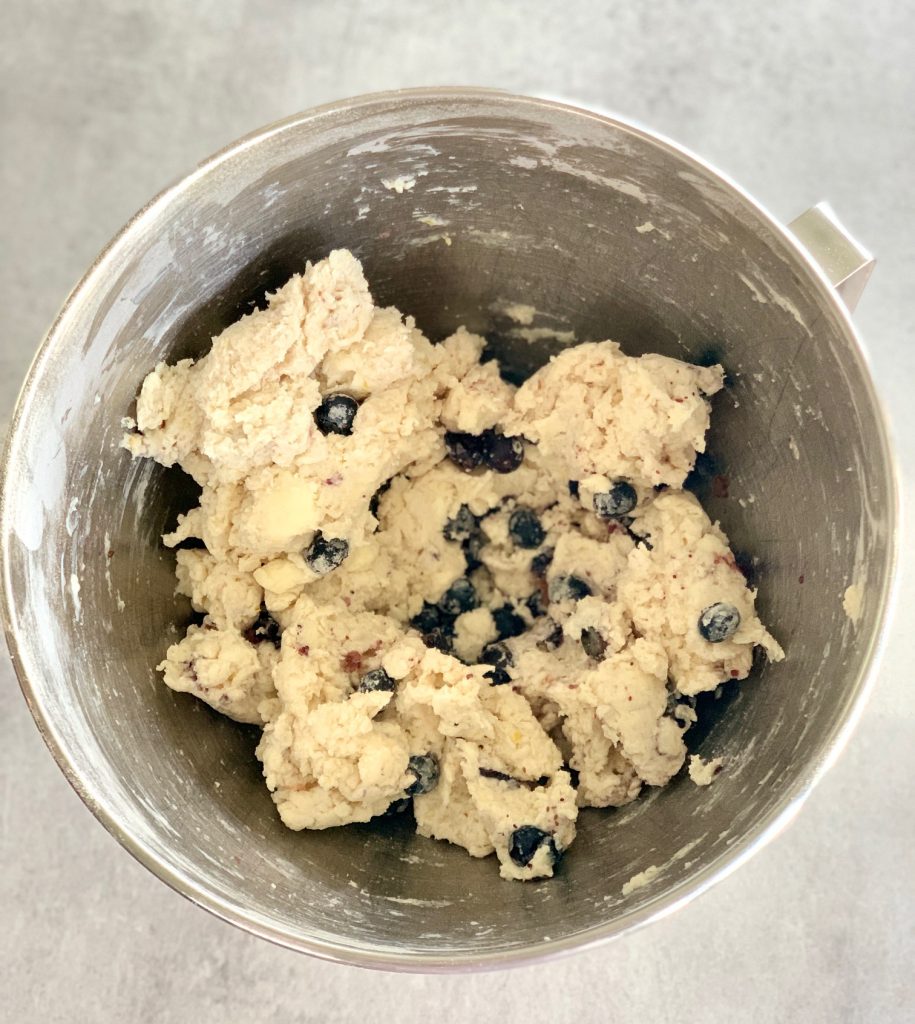
- Add in the cold buttermilk, lemon juice, and blueberries and blend very gently. The dough will still be shaggy, which is OK.

- Lightly flour your work surface, turn the dough out, and gently knead for about 30-seconds,
- Shape dough into a large 1 1/2″ thick disk.
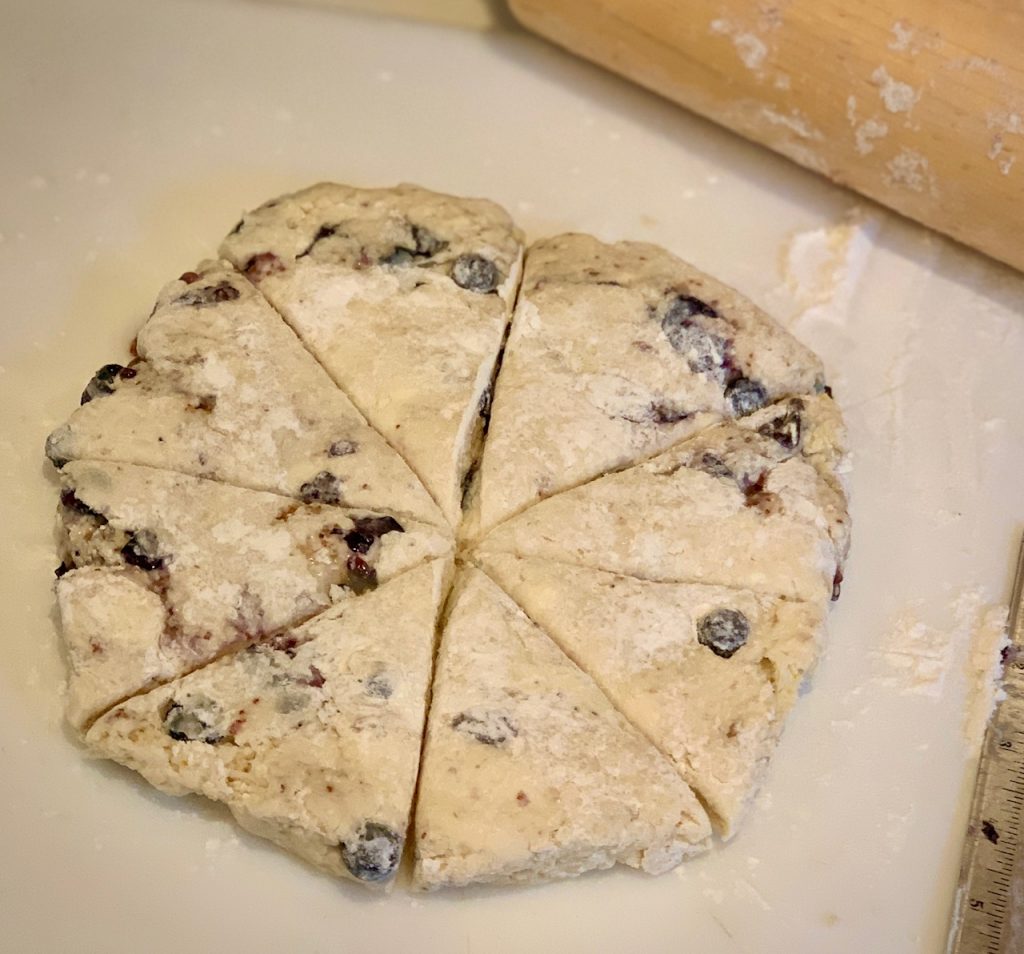
- Cut scones into 8 triangle wedges.
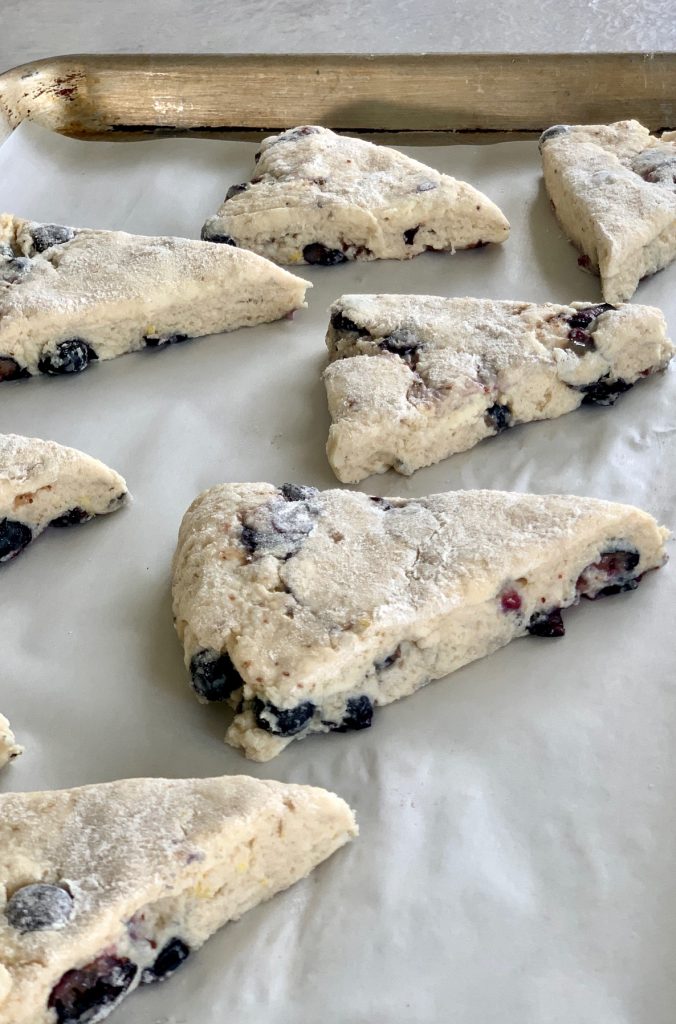
- Place onto a baking sheet, brush with cream, sprinkle with coarse salt and place the tray in the refrigerator for 15-minutes before baking
- Bake about 25 minutes. Scones should be lightly browned and easy to pull up off the baking tray and cool completely.
- If making lemon glaze prepare while the scones are cooling.
- Whisk together the powdered sugar, lemon juice and vanilla until smooth.
- Once scones are cool drizzle them with icing.

Tips for perfect lemon blueberry scones
Scones are easy to make but there are lots of small tricks that go into making the best scones.
- The colder the ingredients the better the results, so keep your scone dough cold.
- Start with frozen butter because it helps make the scones flaky. If it’s very warm in your kitchen you may want to refrigerate all of your ingredients before you start.
- Use very cold buttermilk
- Gently mix the dough by hand. The butter should be pea-sized after mixing the flour. The key to flaky scones is do not over blend the butter.
- The dough shouldn’t be too wet and should be able to stand up on its own.
- If you use frozen blueberries (or any fruit) do not thaw them before adding. Blending the berries with a teaspoon of flour will help them keep their shape during baking.
- Use fresh lemon juice and zest for a bright tangy flavor
- Chill the scones for 15-minutes before baking to get fluffy scones and avoid the chance of them overspreading in the oven.
- Make scone dough ahead of time, cut into shapes and freeze. Add about 3-5 minutes to the cooking time.
- If you want smaller scones, form dough into a rectangle, and cut into smaller wedges
Use this as your master scone recipe
Use the basic on the recipe card below and add or omit flavors for any type of buttermilk scones. The process for making the scones will be the same each time. Some favorite combinations:
- Cherries and almonds – we use this combo in our Cherry Almond Muffins
- Strawberries, raspberries, or blackberries
- Currants
- Dried ginger and rosemary
- Dried apricots, pineapple, cranberries
- Chocolate chips or chocolate chunks
Need a buttermilk substitute?
In case you don’t have buttermilk on hand it’s easy to make a substitution:
- The ratio: 1 Tablespoon of white vinegar or lemon juice to every 1 cup of regular milk.
- Mix together and let stand for a few minutes
More breakfast and brunch ideas
- Buttermilk Pancakes
- Buttermilk Banana Bread
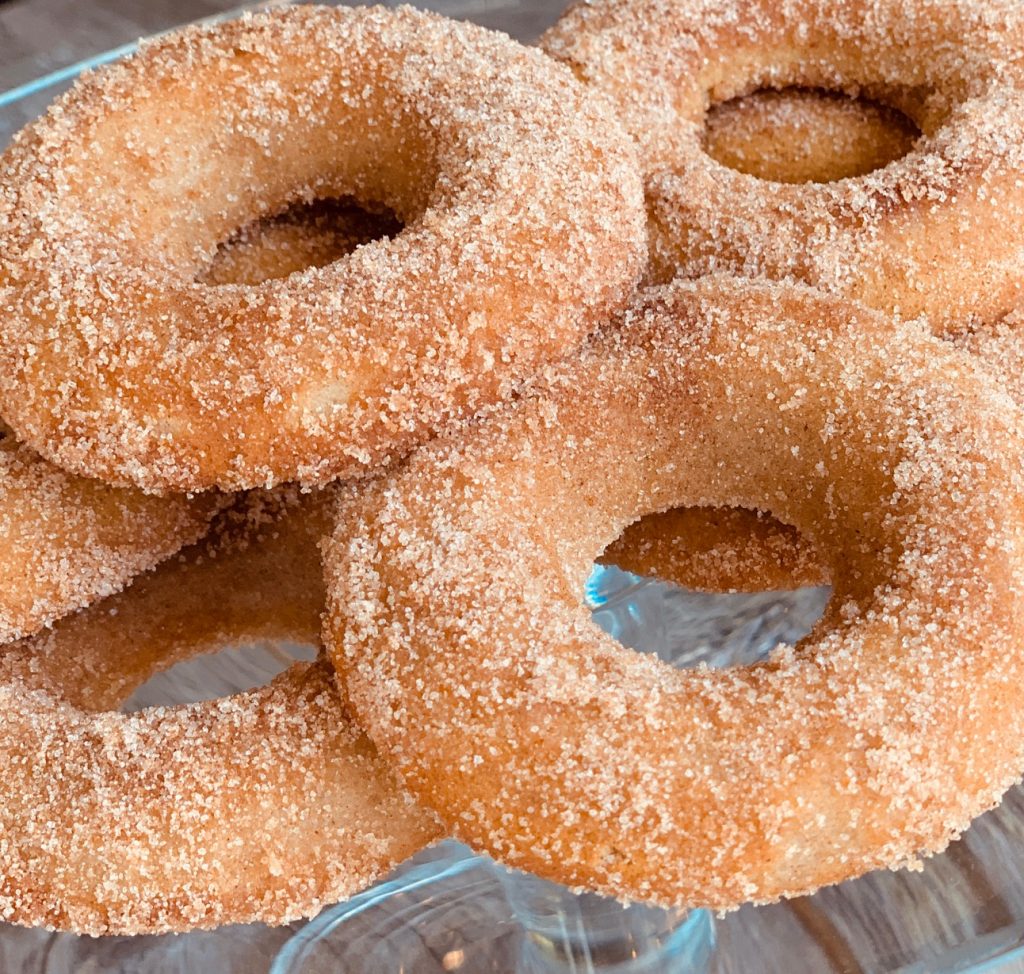
- Baked Churro Donuts
- Fresh Cherry Almond Muffins
- Cinnamon Coffee Cake with Apples
- Crustless Mini Quiche Bites
Blueberry Lemon Scones
Ingredients
Scone Ingredients
- 2 ⅓ cups All-purpose flour, plus 1 teaspoon for blueberries
- ¼ cup sugar
- 2 tsp baking powder
- 1 tsp salt
- 1 tsp lemon zest
- ¼ tsp baking soda
- ½ cup unsalted butter (4 ounces), very cold, Cut into ½" pieces
- 1 Tbsp lemon juice, freshly squeezed
- ¾ cup buttermilk, very cold
- 1 cup blueberries
- 2 Tbsp heavy cream
- 2 Tbsp coarse sugar, optional
Lemon Glaze, optional
- ½ cup powdered confectioners sugar
- 1 Tbsp lemon juice, freshly squeezed
- ¼ tsp vanilla extract
Instructions
Scones:
- Preheat oven to 400°F. Line a baking sheet with parchment paper, Silpat liner or grease lightly.
- Whisk together flour, sugar, baking powder, salt, lemon zest, and baking soda.
- Scatter the butter pieces over the flour mixture. Using a pastry cutter, or the back of 2 forks, cut the butter into the flour until the butter is dispersed throughout, and butter is about the size of peas. Be careful not to overwork because you want the butter to stay very cold.
- In a small bowl toss cold blueberries with 1 teaspoon of flour to coat
- Add the buttermilk, lemon juice, and flour-coated blueberries to the dough and gently mix until just combined. The dough should be combined but rough and shaggy, and should hold together.
- Dust a work surface lightly with flour and turn the dough out onto the floured surface. With floured hands knead the dough for about 30-seconds. Shape the dough into a large disk about 1½" thick. Cut into 8 equal wedges.
- Place wedges onto prepared baking sheet, brush with cream and sprinkle with coarse sugar.
- Chill in refrigerator for about 15-minutes. Bake for about 25 minutes, or until tops are lightly browned.
- Remove scones from baking sheet and cool for about 15-minutes.Drizzle with lemon glaze and serve.
Lemon Glaze
- In a small bowl whisk confectioners sugar to remove any lumps. Slowly drizzle in vanilla and enough lemon juice to make a smooth glaze. If too thick add more lemon juice.
Nutrition
This version is quick to put together because, unlike traditional beignets, they do not require yeast. The added bacon is optional but highly recommended!
A trip to New Orleans requires a stop at the famous Cafe du Monde for original beignets. It is a must! Beignets are basically a bite-sized piece of dough, fried, covered with a hearty dose of powdered sugar, and served warm. Scrumptious!
Cafe du Monde makes their famous, fluffy beignets with yeast which is always a bit of a project! Traditionally, you’ll need to wait for the yeast to rise, roll out the dough, cut it, and fry it. Our easy recipe is my go-to with no rise time ~ because when we want beignets I know they’ll be ready quickly!

Ingredients needed for no-yeast Beignets
(See the recipe card below for the exact measurements)
- Flour – We use all-purpose flour
- Baking Powder – This gives the beignets their fluffy texture
- Sugar – Contrasts well with the bacon and helps activate the baking powder
- Salt – We use fine sea salt but any salt will work
- Milk – We use 2% milk
- Egg – This is what binds the mixture together. Room-temperature eggs always work best
- Bacon – Optional, but it really adds flavor! See substitution ideas below for other options
- Powdered Sugar – A must! Because you can’t have beignets without them!
- Pure Maple Syrup – For dipping the beignets, but again, it’s optional
- Canola Oil – For frying the beignets to golden goodness
How to make Beignets with Bacon
- Prepare the dough and prep for frying
- Saute 3 pieces of bacon, let cool, and crumble or chop into small pieces. Set aside.
- Prepare a deep fat fryer with 3-4 inches of canola oil and heat to 375˚F while preparing the dough. If you don’t have a fryer use a heavy-bottomed, deep pot or Dutch oven instead.
- Line a baking sheet or platter with paper towels.
- In a large bowl combine flour, baking powder, sugar, and salt. Whisk to combine.
- In a small bowl whisk the milk, water, and eggs together. NOTE: It’s important to combine this part separately so that you don’t overwork the dough once it’s added to the flour.
- Add to the flour mixture, along with cooled, chopped bacon, and gently combine until completely mixed.
2. Frying the beignets
- Drop dough by heaping Tablespoons carefully into the deep fryer and cook for 3 minutes. Turn the beignets over and finish cooking on the other side.
- Don’t crowd the beignets. It’s best to cook 4-6 pieces at a time. This helps the oil maintain the proper temperature.
- The beignets should be light golden brown and they will float toward the top when ready.
- Carefully remove with a slotted spoon and place on prepared paper towels to cool.
- Repeat with all the batter.
- Roll the beignets in a bowl of powdered sugar to coat and remove with a slotted spoon to a plate or platter. Again you will likely want to work in batches and you can do this as they cool and others are frying.
- Serve with warm maple syrup for dipping and plenty of napkins!


Tips for making beignets:
- Because these beignets do not include yeast this will be a soft dough, and the best way to drop the dough into the fryer is with a cookie scoop or two spoons.
- I use a small fryer but it’s just as easy to use a heavy dutch oven or tall pot. You will need to fill either about 3 inches deep with vegetable or canola oil.
- It’s crucial that the oil is hot enough. Start at 375˚F because the oil will drop in temperature as you add beignet dough.
- The beignets will rise to the surface of the oil as soon as they begin to puff up and if they do not your oil is not hot enough. I like to cook one test beignet first to make sure my oil temperature is just right.
Finish beignets with powdered sugar
Once the beignets have cooled a bit add to a bowl of powdered sugar and gently coat.

Easy substitutions:
One of my favorite ways to prepare beignets is by adding an unexpected ingredient, such as smoky bacon. This recipe is a basic, easy, no-yeast beignet recipe, and can be prepared without any additions, but bacon really elevates this treat.
Other delicious additions and combinations to try:
- Shredded crab
- Finely chopped shrimp and scallions
- Finely shredded Parmesan or crumbled blue cheese
- Finely chopped jalapenos or red peppers
- Mini Chocolate chips for a sweeter treat
Here’s what’s left after we devoured a batch!

More sweet treats to try
- Baked Churro Donuts
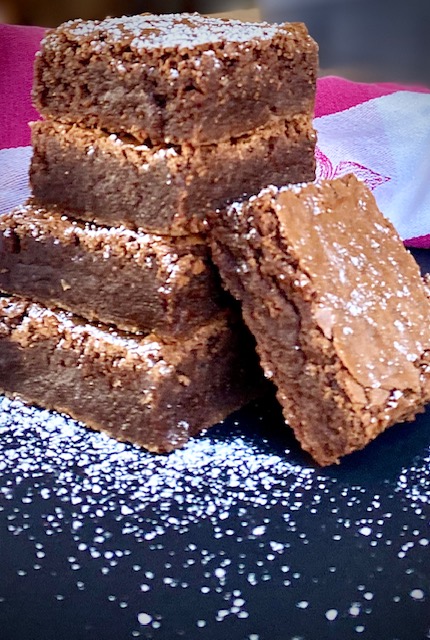
- One Bowl Espresso Brownies
- Orange Olive Oil Cake
- Chocolate Chip Skillet Cookie (also called a Piezookie)


Easy Beignets with Bacon
Equipment
- Deep Fryer, optional
Ingredients
- 3 cups all-purpose flour
- 2 Tbsp baking powder
- 2 tsp sugar
- 2 tsp salt
- 1 cup milk
- 1 cup water
- 1 large egg
- 3 pieces bacon, chopped
- 2 cups powdered sugar
- ½ cup pure maple syrup, optional
- 4-6 cups canola oil
Instructions
- Saute 3 pieces of bacon, cool and chop into small pieces
- Prepare a deep fryer with 3-inches of canola oil and heat to 375°F, or heat oil in a deep pot.
- Line a baking sheet or large platter with paper towels.
- In a large bowl combine flour, baking powder, sugar, and salt.
- In a small bowl whisk together milk, water, and the egg. Add to the flour mixture and mix well. Fold in the chopped bacon and combine.
- Drop about 1 heaping tablespoon of mixture carefully into the deep fryer. Add about 4-5 more but do not crowd the fryer or pot. Turn after about 3 minutes and finish cooking on the other side. Cook until lightly golden.
- Remove beignets with tongs or a large slotted spoon and place on prepared paper towels to cool. Repeat with all batter.
- Place powdered sugar in a medium bowl and add beignets a few at a time and roll to coat.
- Serve with warm maple syrup.